The Spaghetti Book

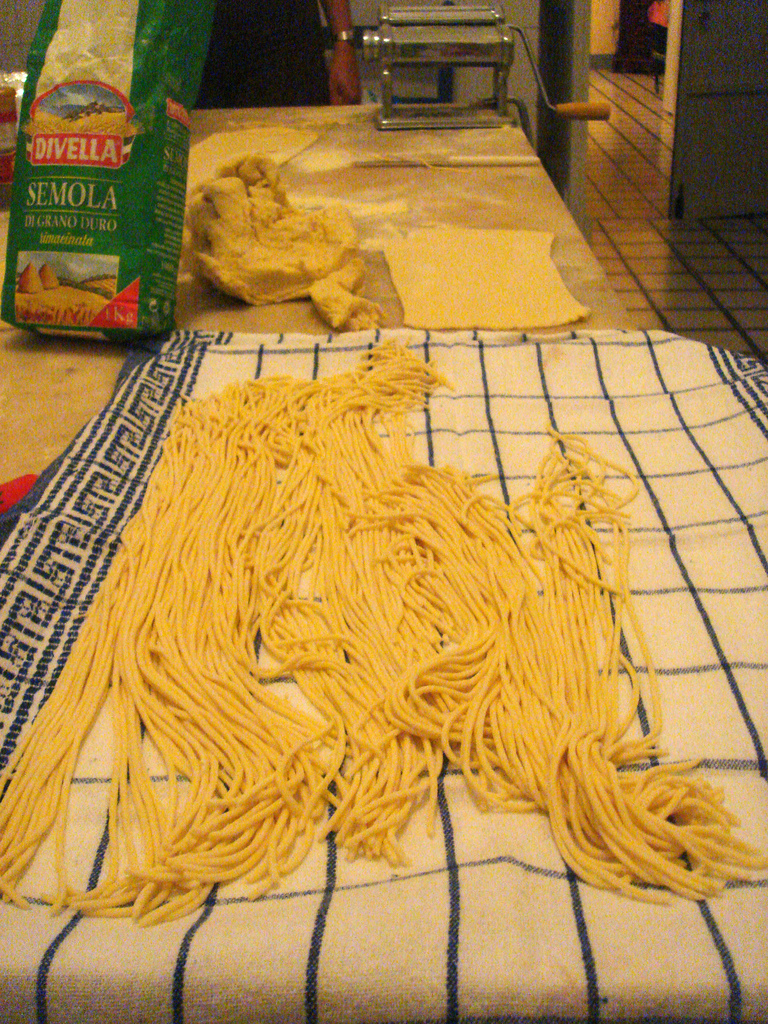
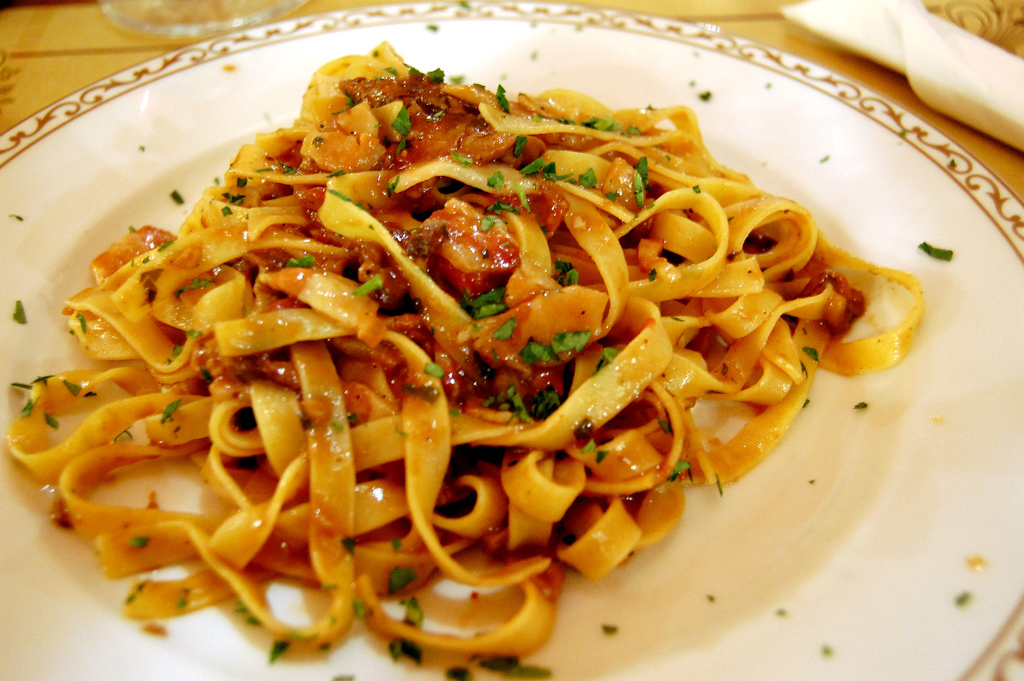
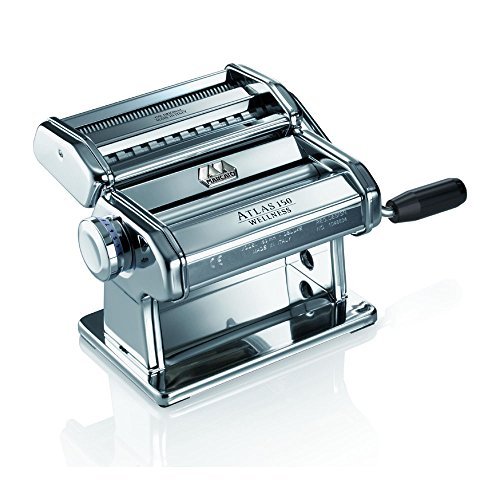
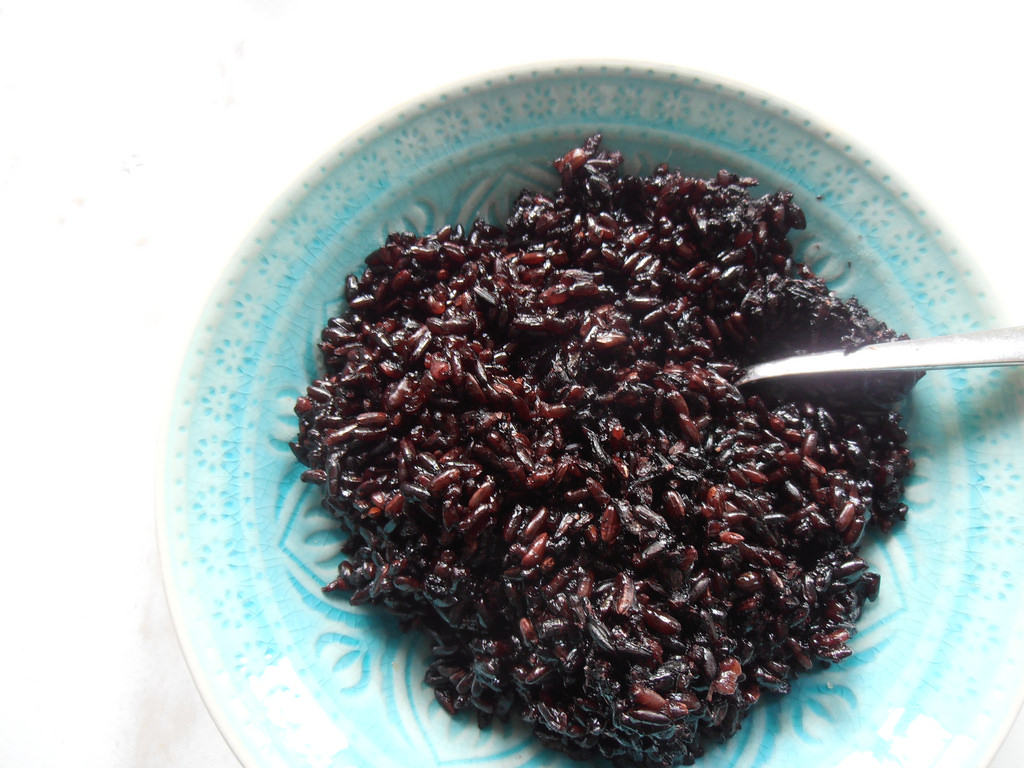
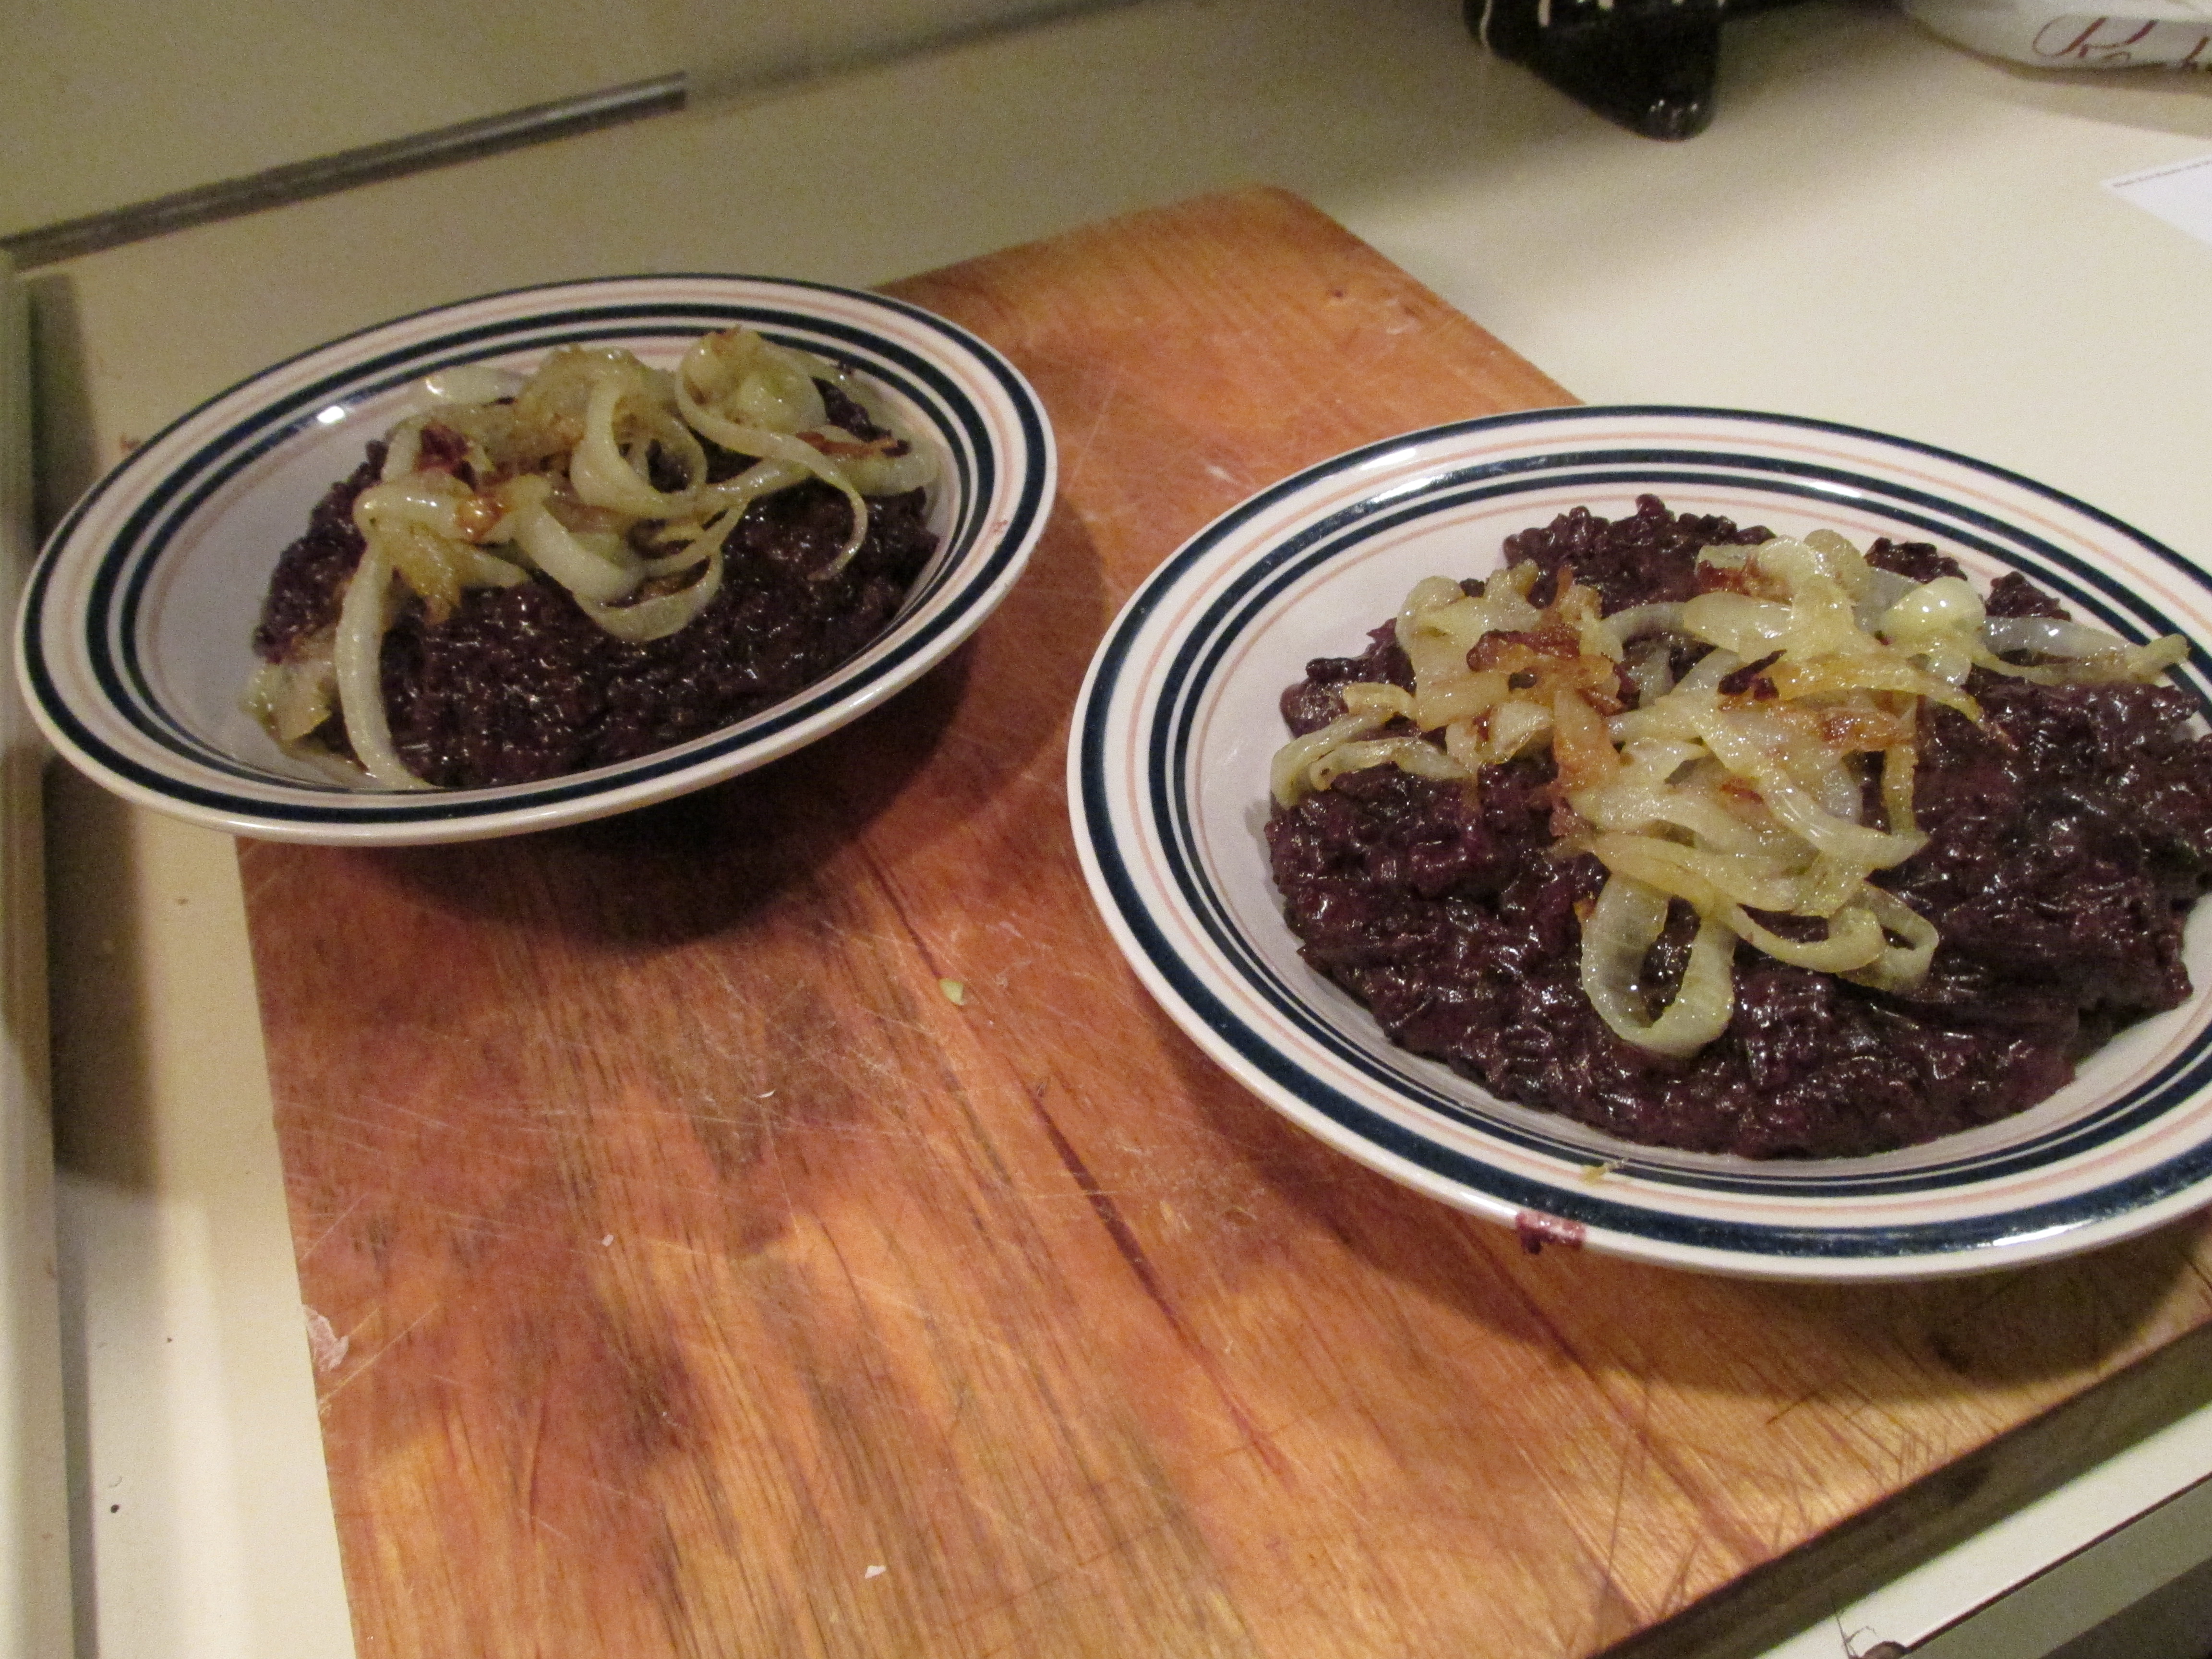
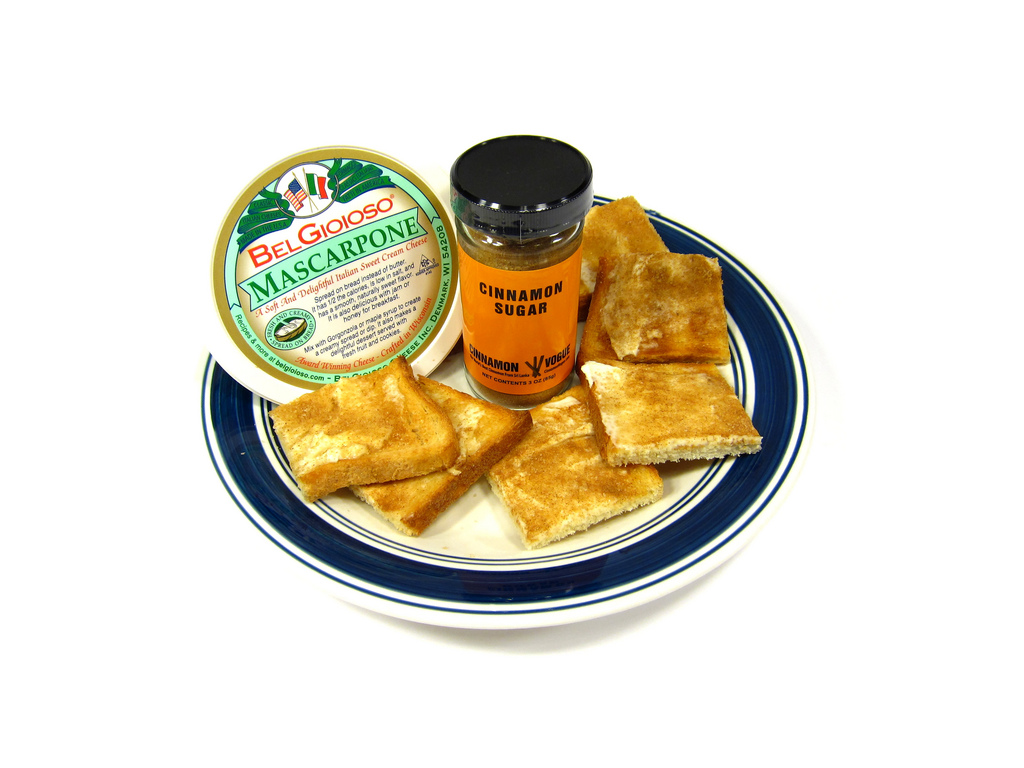
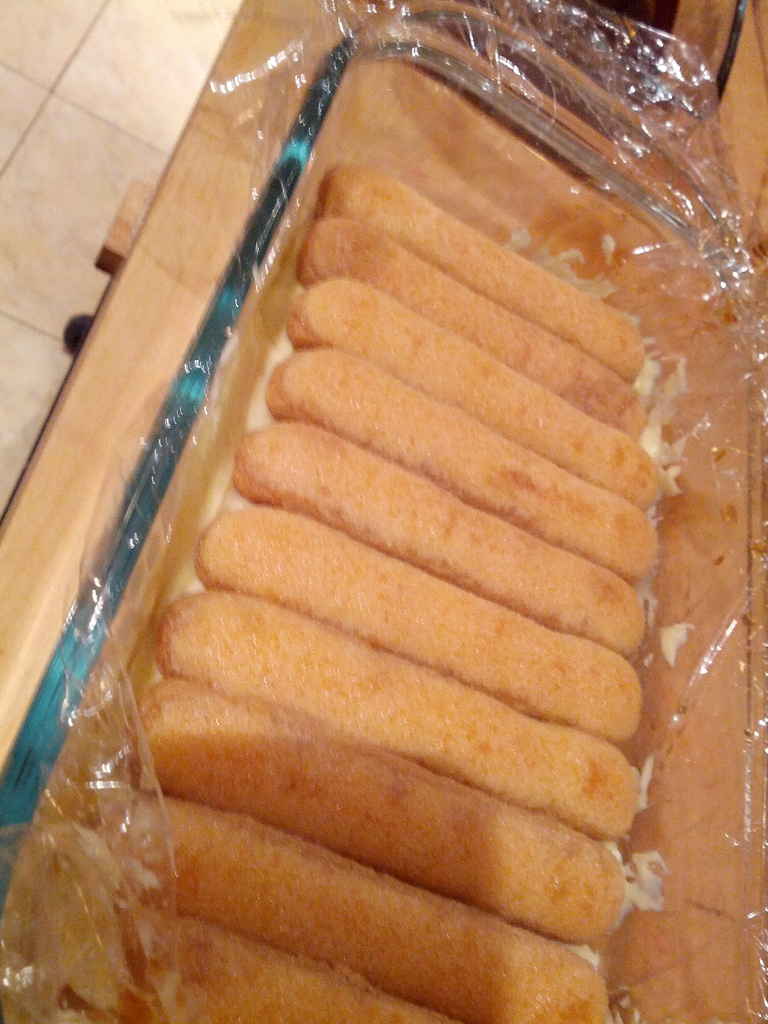
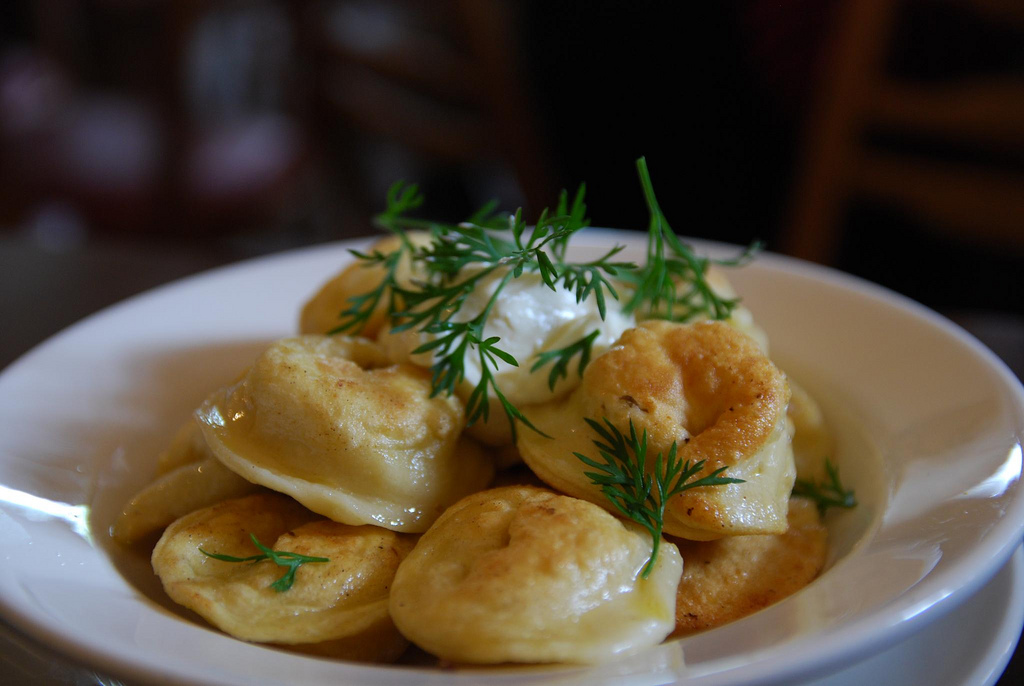
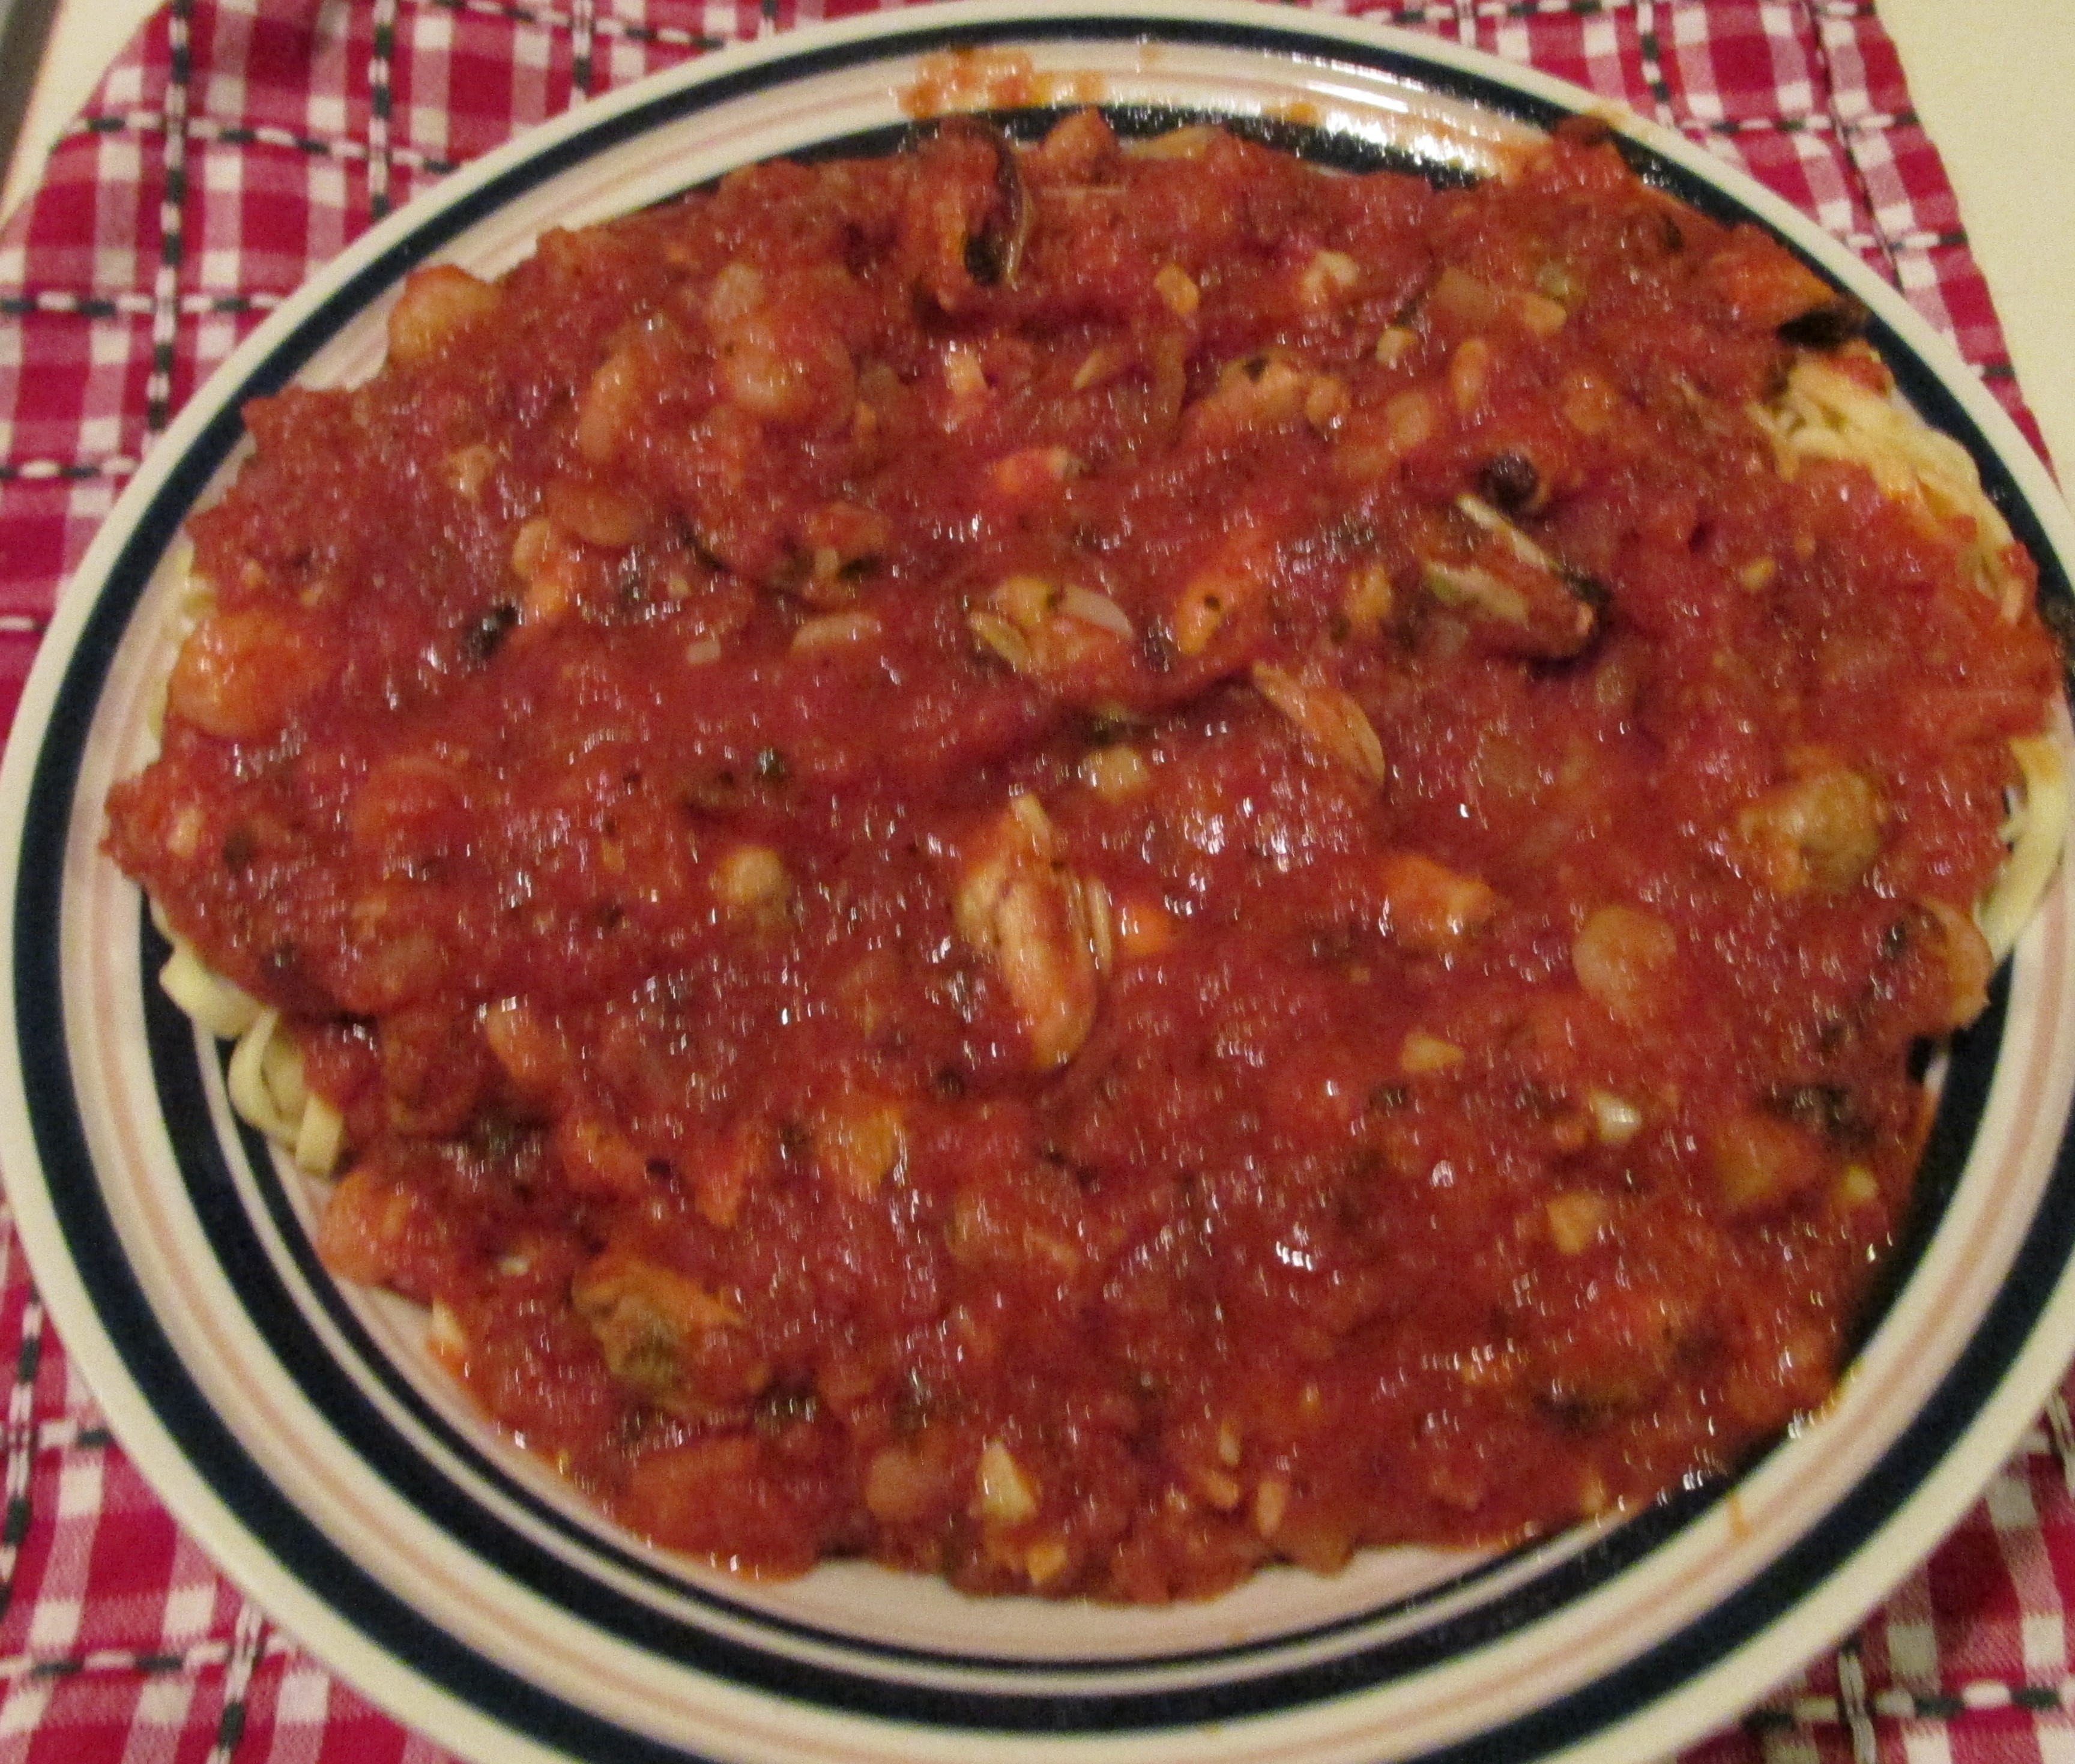
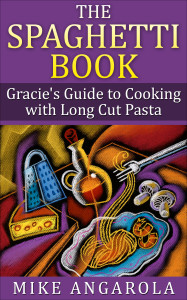
“The Spaghetti Book – Gracie’s Guide to Cooking with Long Cut Pasta,” is our latest in the Italian Living Series and will be available at Amazon within the next day or two; but I don’t want you to buy it.

spaghetti book cover 2-27-15That’s right, you heard me, I don’t want to buy my book; just yet that is.  You see, I’m releasing the eBook a few days ahead (actually 9 days) of the planned date of March 15th. This helps me iron out any formatting issues or Amazon problems that always seem to pop up with eBook releases these days.

The book will be available for its regular $5.99 price until the 15th and 16th of March, when you can get it for FREE.  Yup, FREE.  After the two day free promotion, the book will be discounted for two weeks at $1.99

This gives you, my readers and friends, an opportunity to get the book FREE or at a big discount.  Sometime in early April the book will return to the full $5.99 price.

I’m really sure you will enjoy this eBook and hope after downloading you will return to Amazon Kindle and write a favorable review.

Remember, you can add the Kindle reader app to any device; laptop, android and iPhone, i pads, etc.  You don’t need a Kindle reader to enjoy Kindle eBooks.

***********

Hey, check out these deals from our affiliate partner Chefs.com.  There’s some great deals here!


Bucatini – A Recipe

Bucatini, also known as perciatelli, is a thick spaghetti -like pasta with a hole running through the center. The name comes from Italian: buco, meaning “hole.”

Bucatini

Bucatini With Kale and Taleggio

I was originally was going to add this recipe to the “Spaghetti Book,” which BTW is set for a March 15th release, but figured I would share it here instead.  Credit for this goes to restauranteur, Donatella Arpaia. The online recipe uses buckwheat bucatini, but suggest that whole wheat fettuccine or tagliatelle would work as well. Visit her website at http://www.donatellaarpaia.com.

Ingredients:

1 bunch kale, stems removed
1 pound buckwheat bucatini or whole-wheat fettuccine or tagliatelle
6 large red-skinned potatoes, washed, peeled and sliced 1/4″ thick
2 tbsp extra virgin olive oil
6 garlic cloves, thinly sliced
1/4-1/2 tsp red-pepper flakes (to taste)
6 ounces taleggio or fontina cheese
Pinch of ground nutmeg
Kosher salt and freshly ground black pepper
1/4 cup grated Parmigiano-Reggiano (optional)
2 oil-packed anchovy fillets or 1 tsp anchovy paste (optional)

If you have yet to try taleggio, you are missing out!

Directions:

Bring a very large pot of generously salted water to a boil. Add the kale and cook for 3 minutes. Transfer the kale to a colander using a slotted spoon, and rinse under cold running water. Squeeze dry and coarsely chop.

Add the bucatini to the boiling water, cook for 3 minutes, then add the potatoes to the same pot. Cook about 7 minutes more, until the pasta is still firm and chewy, al dente.

Meanwhile, heat the olive oil in a large skilled over medium-high heat.
Add the garlic, anchovies (if using), and red-pepper flakes. Sauté, stirring, about 2 minutes, until the garlic is soft and fragrant.

Add the kale and cook, stirring once or twice, for 2 to 3 minutes.
Transfer the bucatini and potatoes to the skillet using a large spider or skimmer. Add 1/2 cup of the cooking water, 1/2 tsp salt, plenty of pepper and the nutmeg.

Toss to blend, then scatter the Taleggio and Parmigiano (if using) over the pasta, cover the pan, and remove from the heat. Let stand for 1 minute to allow the cheese to melt slightly. Serve warm.

Stonewall Kitchen, LLC

photos by: &

The Science Behind Perfect Spagetti

“Making a perfect plate of spaghetti is not rocket science but there is a little science behind making it just right.  Spaghetti is always considered an easy, quick dish to prepare, but it is amazing how many people get it wrong.”

 Spaghetti with eggplant and sausage

For quite some time now I have been asking you to be on the lookout for my newest eBook, The Science Behind Perfect Spaghetti – Gracie’s Pasta Guide.  Well some things just seemed to take longer than expected, including coming up with the right title (still up in the air).  The good news is that I expect to have this project wrapped up by the Eyes of March.  Below is an excerpt, guiding you to a perfect bowl of Spaghetti.

From Chapter One, Section Two:

“An important thing to remember is that most dried pasta doubles in volume when cooked.  You should always measure pasta by weight rather than by cup. A good rule of thumb is that one pound pasta will usually serve four (4) people.

How To Cook Perfect Spaghetti/Pasta:


Comparison between different types of long Ita...

Comparison between different types of long Italian pasta (Photo credit: Wikipedia)

Don’t cook the Spaghetti until you’re ready to eat – Spaghetti or any pasta cut should be served hot and is usually ready in about 8 minutes once your water is boiling. All side dishes and sauces should be just about done when you start boiling your spaghetti.

To cook pasta properly, you need a lot of water, so use a large pot.  Too small a pot and too little water will cause the pasta to stick together and cook unevenly.


Mmm... spaghetti with meatballs

For a pound (16 ounces) of pasta, you will want a pot that holds at least 5 or 6 quarts of water. Use plenty of cold water, which helps prevent pasta from sticking together by quickly washing away the exuded starch.

Remember, hot water will dissolve anything (including contaminants like lead) if you have older lead pipes, it (lead) could very well end up in your pot. The more common problem is water that has been sitting in your home pipes for over 6 hours.


Fresh makes every pasta dish better

Fresh makes every pasta dish better

Cover the pot and bring to a boil. Covering will help the water to boil faster.  Add salt, as this helps the pasta taste better and in releasing its natural flavors. I always wait to salt my water at the same time I add the pasta. Salt dissolves quicker in hot water and will not damage pots.  I usually add about 2 tablespoons of kosher (coarse) salt per pound of pasta.

MYTH; Many people think that adding salt adds to the sodium level of the finished pasta. This is not true, so don’t hold back on the salt. You really want to get the pasta properly seasoned. In recent years I have been adding Sea Salt and do find I can get away with using less.

 fresh spag + Tom Farmer's Case Inlet clams = serious

Like I said, just before I add the pasta is when I add my salt. Be certain to add the pasta all at once. Keep the heat high so the water returns to a boil. Lower heat if and when the water boils over.

I don’t think I can remember the water NOT boiling over when I was a kid. I can still hear my mom shouting at me from another room to lower the water.   I’m sure she wanted this to happen, knowing that the water needed to stay hot.

WHY HOT: Pasta added to water before it boils begins to break down as the starch dissolves and will lead to a mushy product. The water temperature does drop once you add the pasta, which explains why mom always let the pasta water boil over.

After you add the pasta begin to stir with a long wooden spoon to prevent the pasta from sticking together or to the pot. It’s amazing how man people skip this step. Continue to stir the pasta during the entire cooking process.

The pasta should cook uncovered, and at a fast boil. I always cook my pasta to taste and never rely on the cooking directions printed on the side or back of the package.  Pasta usually takes about 8 to 10 minutes but different shapes and textures all effect the cooking time.

 Fresh pasta laid out to dry.Fresh pasta laid out to dry.

NOTE: Fresh pasta cooks up way faster than the dried stuff. Keep you eyes on fresh pasta and taste often. The finished pasta should be tender but still firm when you eat it, what we call “al dente.” Again be sure to taste the pasta for readiness, but watch out,  your sample will be HOT! Like most foods, pasta will continue to cook after it has been taken from the water.

TIP: The best way to test for “al dente” is to remove a strain of spaghetti, cut it in half and look for just a speck of white inside. Any more than a speck and the pasta is not ready. If you don’t see any white the pasta is leaning towards being overcooked.

Drain your pasta immediately and shake it well to remove excess water. Do not rinse!  I have seen this many times and never got a clear explanation why people do this.  Rinsing will cause the pasta to lose starch which is vital in having your sauce adhere to the pasta. Have you ever seen watery pasta and sauce? Chances are the pasta was rinsed.

ASIDE – Now you can rinse the wide pasta, such as lasagna noodles or manicotti shells.  If you don’t, you will have a hard time separating the noodles without tearing them and rinsing can make them easier to handle.

Linguine with porcini mushrooms

Linguine with porcini mushrooms

One thing I always watched my mom do with spaghetti or any long cut and that was to cut them in hail.  I assumed it was because they fit in her pot better, but I suggest you stay away from this habit. The whole noodle just presents better.  Use a Pasta Fork to push long cuts into your pot.

There you have it, the science of making perfect spaghetti/pasta.  Stick to the basics and you will end up with the quick and easy dish spaghetti/pasta was meant to be.”

The Science Behind Perfect Spaghetti – Gracie’s Pasta Guide will be available soon, and many of the dishes you see pictured in this post will be featured.  The book will also be added to our Gracie’s Cares program, so a percentage of the sales will be given to a worth charity.  Be on the lookout!

Related articles

Chefs Catalog


photos by: & , , , , McPig

7 Tips For Storing Red Wine

Not all red wines are made to age but many of the better ones do improve with proper wine cellar techniques.  What constitutes proper wine cellar techniques?  Here are 7 tips for storing your valuable red wines.

LZ98_001_0032_11DM  It’s February and you just purchased a case of the 2010 Brunello di Monticello.  A vintage that is considered by many experts to be the best ever.  Problem is most of these experts are telling you, and rightly so, that the wine needs more time in the bottle to really reach its peek potential.

So how to you properly care for this and your other cherished wine purchases that need more time to soften and round out those rough spots.  Here are 7 tips for doing just that.

Tip # 1. Keep it Dark – If you’re storing wine for a considerable period of time, it should be kept out of direct sunlight.  Find a room, closet or pantry that works best.  Below I will describe my ideal way (my in home technique) for storing wine without breaking the bank on an expensive wine cellar.

Tip # 2. Watch the Humidity – Try and keep the humidity below 70%.  High humidity keeps the cork moist and avoids rotting, but anything above 70% humidity will cause mold and the label to loosen.  Keep it between 60 and 70 percent for ideal storing.  Consider purchasing a hygrometer to track the levels of humidity.

Wine Cellar Digital Hygrometers

Tip #3. Keep the Temperature Consistent.  Stored wines should be kept between 55 and 70 degrees with little fluctuations.  Wine stored below 55° will take longer to age and above 70° wine begins to oxidize.  So, finding that right balance of light, heat and humidity can be a challenge.  Continue reading for our suggested location that your home most likely provides.

Tip #4. Lay it Down – In order to avoid cork rot, wine should be stored on their sides.  Storing wine upright for considerable periods of time will cause the cork to deteriorate and air to enter the bottle, spoiling it.  Invest in wine racks that let the wine lay sideways.

Vintage View Wine Racks

Tip # 5. Keep it Still – Wine is best kept still and away from vibrations.  Constant movement can have a negative effect on the wine.

Tip # 6. Move it Around Some – Then again it’s not a bad idea to every so often give the bottle  turn.  This ensures that the cork is kept moist on all sides and will not rot.  As mentioned above, a rotted cork allows air to enter the bottle which spoils wine.

Tip # 7. Keep it Isolated – Wine breaths so avoid storing it with anything that has a strong odor.  I have known people that kept wine in a basement closet that was also home to paint cans and commercial cleaners.  Without good ventilation these odors can, and in this case, did, permeate through the wine.


Wine is best stored in a cool, dark somewhat humid environment.

Wine is best stored in a cool, dark somewhat humid environment.

Now you can spend thousands building a wine cellar in your home with all the bells and whistles that ensure proper storage.  If you’re like me however, you may need to find a lower cost solution.

A few years back as I started collecting wine, I purchase a few low cost metal racks, each capable of holding 100 bottles of wine.  I am fortunate enough to have a refinished basement with a long closet that leads to our electrical panel.  One wall of the closet faces the outside and is cinder blocks.  The other wall is insulated sheet rock.   The room is dark, keeps a consistent temperature with a steady humidity year round.  The perfect storm for storing wine.

I would bet that most basements provide an area that can easily and at low cost, be transformed into the perfect wine storage.  Search the internet or click on some of the links provided here and pick up wine racks that work for you.  Don’t spend a lot of money, save that for the case of 2010 Brunello.

Decorative Metal Wine Racks
Related articles

photo by:

How To Make Great Fresh Pasta

The secret to making great fresh pasta is really no big secret at all and is pictured below.  If you are serious about making fresh pasta at home then you need to invest in a pasta maker.  The Marcato Atlas 150 Pasta Maker is my choice as the best money can buy.

 Marcato Atlas Wellness 150 Pasta Maker, Stainless Steel

Marcato actually makes two styles of this machine.  the 150 Wellness  (pictured) and the 180.  The Marcato 180 is just a  wider version of the Wellness 150. Both versions come in a variety of colors, but if color is not important, you will save money with the stainless steel model.

Click the image or link above to view this item on Amazon.  Currently the stainless steel version sells for $79.95.  The operation is identical on all models and these machines are very easy to use.

Here is a product description from Amazon’s website:

“Home chefs are more interested than ever in creating more wholesome ways to feed their families. Organics are in, and pasta is never out. The Atlas pasta machine is the most famous pasta machine in the world. With this machine you’ll be able to make fettuccine, spaghetti, flat dough sheet, and tagliolini. It has an easy to use adjustment knob that allows you to control the thickness of pasta – from 0.3mm to 2.5mm.”

Fresh pasta laid out to dry.

Fresh pasta laid out to dry.

This heavy duty machine has a chrome plated steel body. The rollers and cutters are made of long lasting anodized aluminum. The anodized aluminum is a wellness innovation; rollers and cutters grab the dough better and because they are free from heavy metals, such as chromium and nickel, you get healthier results. Gears are case-hardened tempered steel. Includes clamp for securing to counter, instruction book and recipes. Attachable blades for spaghetti, linguini and ravioli also available (sold separately).”

 *************************************

A machine even one as good as the Marcato Atlas cannot guarantee great fresh pasta.  In order for that to happen you need to make sure the dough is right.  I remember my mom and grandmother painfully stressing over the right consistency of the dough.  No pasta machine in their arsenal, and they spent hours making sure the dough was the proper thickness before they cut it and laid it out to dry.

My grandmother was crafty however and had this rolling pin, pictured below, that had groves in it making a perfect spaghetti.  That rolling pin is one of my most treasured possessions.

Grandmas Spaghetti Cutter Rolling Pin

Grandmas Spaghetti Cutter Rolling Pin

The one thing you must remember and most likely the key to a great pasta dough is not making the dough too wet.  Wet dough will stick to the rollers and you will have a mess.  If I find that the dough is sticky and hard to work with, then it’s too wet and I will add additional flour.  Consistency is the key to making good pasta and with practice you will find that eventually the task is an easy one.

Fresh makes every pasta dish better

Here’s a recipe you can try, but be sure to play around with it and get that consistency down pat.  Once you get it, making pasta will become a weekly experience, I promise.

Another thing, be mindful of conditions like the hardness or softness of water and altitude. These can have an effect on your doughs final look, feel and taste.

Ingredients:

  • 2 Cups Semolina

  • 2 Cups All purpose flour

  • 6 medium eggs

  • 1 Tablespoon olive oil

  • pinch of salt.

 Directions:

  1. You can knead the dough mix it in a bread machine or as I do, use a food processor with a dough blade.

    Bread machine. Making dough. Deutsch: Brotback...

    Bread machine. Making dough. (Photo credit: Wikipedia)

  2. Make sure you eggs are at room temperature, and combine with the oil, salt add and a little flour to the processor.  Mix until you have blended all the ingredients.

  3. Continue adding flour until the dough forms a ball and begins to crumble.

  4. Take a sample of your dough and check for the consistency.  If its too wet, add flour and continue mixing.  If you feel the dough is too dry, add a little room temperature water.

  5. Once you are happy with the consistency, form a ball of dough and wrap in plastic.  Let the dough rest for 30 minutes.

  6. The dough is now ready to be rolled and run through the Marcato, according to the directions for the cut desired.

Making fresh pasta at home is fun, healthy, and a great way to get the kids involved or enjoy with your partner.  Keep experimenting until you get it right and remove the guesswork.

Remember, fresh pasta does not have a very long shelf life so make enough to use immediately or freeze extra in a resealable plastic bag.  Fresh pasta also cooks up in about 4 minutes, sometimes less.  So keep an eye on it.

How To Make Great Fresh Pasta
 
Author:
Recipe type: Main
Cuisine: Italian
 
Ingredients
  • 2 Cups Semolina
  • 2 Cups All purpose flour
  • 6 medium eggs
  • 1 Tablespoon olive oil
  • pinch of salt.
Instructions
  1. You can knead the dough mix it in a bread machine or as I do, use a food processor with a dough blade.
  2. Make sure you eggs are at room temperature, and combine with the oil, salt add and a little flour to the processor. Mix until you have blended all the ingredients.
  3. Continue adding flour until the dough forms a ball and begins to crumble.
  4. Take a sample of your dough and check for the consistency. If its too wet, add flour and continue mixing. If you feel the dough is too dry, add a little room temperature water.
  5. Once you are happy with the consistency, form a ball of dough and wrap in plastic. Let the dough rest for 30 minutes.
  6. The dough is now ready to be rolled and run through the Marcato, according to the directions for the cut desired.

Related articles:

Hey you may have noticed our new affiliate partner Cellars Wine Club LogoTheir banner ad is atop our blog posts this month through February.  There are many wines clubs out there, but I especially like their international collection.  Click on the banner and check them out.

photos by: &

Black Rice Risotto

Black rice is not usually associated with risotto, as that distinction is saved for arborio.  Both rices however contain similar qualities in that they are able to absorb liquids and to release starch making them stickier than many long grain varieties.


Black rice...So I took a little weekend trip with my wife a few weeks before Christmas and we stumbled upon a tiny shop that promised to offer amazing food products.  I always enjoy walking the isles of a specialty food shop and picking the brain of the knowledgeable staff.

On this occasion the shop had set up an entire section devoted to rice.  White, brown, imported, arborio and a special Thai black rice that was billed as making a mean risotto.

I really enjoy a good risotto and although a tiresome and annoying dish to prepare, with the constant stirring, I also enjoy making one.  Now, my experience with black rice is more of a healthy rice substitute and not one for risotto.  The clerk ensured me that black rice truly did have the same absorbent qualities arborio, so I figured I would give it a shot.

Risotto with mushrooms, hazelnuts and parmesan...

Risotto with mushrooms, hazelnuts and parmesan Italiano: Risotto ai funghi, nocciole e parmigiano (Photo credit: Wikipedia)

A few days later I took out the rice but was not feeling confident with making a risotto and went with a dish I made many times before, Thai Black Rice Salad with Salmon.  (For that recipe click on the link or go to the recipe section on the sidebar).  I still had better than a cup of the black rice left and this past weekend cooked up the risotto.

Going with a recipe I have used with arborio, Black Rice Risotto with Mushrooms and Caramelized Onions, dinner was hopefully only 30 or so minutes away.  In my opinion, risotto is tiresome and time consuming, but well worth it.  I quickly discovered that the black rice made this ever more evident.  It took way longer than arborio to reach the right consistency but did in fact hold true to its absorbent quality.

Black rice with 1/2 cup of stock added.

Black rice with 1/2 cup of stock added.

5 minutes later.

5 minutes later.

Caramelized onions really make this dish

Caramelized onions really make this dish

The whole time preparing this dish I’m not feeling confident.  The pressure was really on, as everyone home was getting good and hungry.  With a tweak here and a new ingredient there the rice did its job and dinner was served to many happy family members.  Below is the printable version of the recipe.

Give it a shot, It not the most attractive meal but works on a day when you’re looking for a a healthy, something different dish to feed the hungry troops.

Dinner is served

Dinner is served

Black Rice Risotto
 
Author:
Recipe type: Main
Cuisine: Italian
 
Ingredients
  • 1 cup black rice
  • 4-5 cup vegetable stock or water
  • 3 tsp olive oil
  • 3 onions, one chopped and two sliced
  • 2 cloves of garlic, chopped
  • ¼ cup white cooking wine
  • 1 cup sliced button mushrooms
  • 1 tsp red pepper flakes
  • salt and pepper to taste
  • 1 tsp sugar
  • 2 tbsp mascarpone cheese
Instructions
  1. Heat one tsp of oil in a large saucepan
  2. Add the chopped onion, red pepper flakes, salt and pepper and cook until softened
  3. Add the garlic, mushrooms and white wine
  4. Turn up the flame to medium-high and cook until the wine has evaporated, stirring frequently
  5. Begin to add ½ of stock or water and continue to stir
  6. Just before the stock evaporates, add another ½ cup
  7. Repeat this process until the rice is cooked but still has a bite
  8. Add additional salt and pepper if desired
  9. Just before the rice is ready to take off the heat add mascarpone cheese and stir until incorporated.
  10. At this point, you should caramelize your remaining sliced onion by sauteing in oil with a tsp of sugar
  11. When they turn golden brown they are done
  12. Top the risotto with the caramelized onions and serve hot


Hey you may have noticed our new affiliate partner Cellars Wine Club LogoTheir banner ad is atop our blog posts this month through February.  There are many wines clubs out there, but I especially like their international collection.  Click on the banner and check them out.

wine.com

photo by:

10 Ways to Use Mascarpone Cheese

There are many ways of using Mascarpone Cheese and here are my top 10 links to some great recipes.

Cinnamon Toast

Mascarpone is an Italian cheese made from cream, coagulated by the addition of citric and acetic acids.  Mascarpone originated in the area between Lodi and Abbiategrasso, Italy, which are southwest of Milan.  The origin can be traced to the late 16th or early 17th century. The name is popularly held to derive from mascarpa, an unrelated milk product made from the whey of Stracchino, which is a young, barely aged cheese

A few weeks back I gave you our recipe for Panettone French Toast.  The final touch was to add a dapple of mascarpone on top in place of butter.  Problem is you are often times left with a good amount of this cheese, wondering what to do before it goes bad.  As you may or may not know mascarpone is most notably associated as a key ingredient in Tiramisu.  Listed below are 10 links to 10 great recipes (Tiramisu included) that I’m sure you will want to try.

(The first four recipes were highlighted in a post at http://www.huffingtonpost.com)

#1 Killer Tiramisu – Years ago when I had my Italian Foods Shop, I always knew when someone was attempting to make a Tiramisu.  They would approach the counter with a package of lady fingers, a tin of espresso and asked if we sold mascarpone cheese.  I found this recipe on the internet and had printed copies to give to customers that fit the above description.  Their claim, “Best Tiramisu recipe – outperforms Olive Garden, Carabbas and maybe even your Grandmas!”  Here’s the Link, http://www.italian-dessert-recipes.com/best_tiramisu_recipe.html

Lady Fingers, a staple in most Tiramisu recipes

Lady Fingers, a staple in most Tiramisu recipes

#2 Mushroom and Mascarpone Tarts – If you are the type of person that likes a mix of sweet and savory then this dish is for you.  Great as an appetizer when you are expecting a crowd or as a more intimate dish for a planned dinner party.  Give yourself a little time to put these tarts together, and I’m sure you will find it worth the bother.  Click here for the recipe, http://www.thecurvycarrot.com/2012/02/17/mushroom-and-mascarpone-tarts-and-a-virtual-baby-shower/

#3 Sweet Potato and Mascarpone Ravioli with Caramelized Onions – I really like this recipe for many reasons.  First off it’s a ravioli, so enough said there.  Secondly, sweet potatoes and caramelized onions are high on my favorite foods list.  Add the mascarpone and you can’t help but have a winner.  The website, Vegetarian Ventures, is one I think you may want to bookmark.  To get right to the ravioli click here, http://www.vegetarianventures.com/2013/01/14/sweet-potato-and-mascarpone-ravioli-with-caramelized-onions/

Maroussia's Dumplings - Babka AUD15

#4 Fontina and Mascarpone Baked Pasta – The inspiration for this dish seems to come from the same problem I wanted to address in this post.  What to do with left over cheese from one recipe before it spoils.  The author here, AlidasKitrchem.com, is saving two cheese with one recipe.  For those of you who haven’t experience Fontina Cheese you are in for a tasty experience.  Alida tells us “Fontina and Mascarpone Baked Pasta is a delicious and sophisticated twist on macaroni and cheese ~ perfect for company or Sunday dinner comfort food.”  Click here, http://alidaskitchen.com/2012/09/20/fontina-and-mascarpone-baked-pasta/

fontina and mascarpone mac 'n cheese

#5 Melon and Prosciutto Risotto – This one comes from Bon Appetit and to quote the author “I like to take a classic pairing and turn it on its head.”  If you like Risotto with a twist then you need to give this one a whirl.  http://www.bonappetit.com/recipe/melon-and-prosciutto-risotto

Outperforms Olive Garden, Carabbas, and maybe even your grandma! – See more at: http://www.italian-dessert-recipes.com/best_tiramisu_recipe.html#sthash.kTgoEzlR.dpufOut
Outperforms Olive Garden, Carabbas, and maybe even your grandma!” – See more at: http://www.italian-dessert-recipes.com/best_tiramisu_recipe.html#sthash.kTgoEzlR.dpuf

 #6 Broccoli-Mascarpone Soup – Here’s another one from Bon Appetit that offers a cool way of adding mascarpone into a delicious soup.  Who couldn’t use another soup recipe, especially as I look out my window to a cold freezing wintry mix hitting the ground.  A soup day indeed.  http://www.bonappetit.com/recipe/broccoli-mascarpone-soup

Brilliant Beans n Broccoli Soup

#7 Chicken with Mustard Mascarpone Marsala Sauce – From the food network and courtesy of Giada Di Lauretiis comes a recipe I feel I really need to explore further.  My mom loved making Chicken Marsala and I could see her giving this one a try.  Serve this over the top of some Fettuccine and you have a meal the whole family will enjoy.  Here’s the link, http://www.foodnetwork.com/recipes/giada-de-laurentiis/chicken-with-mustard-mascarpone-marsala-sauce-recipe.html#!

#8 Ricotta-Mascarpone Mousse with Balsamic Strawberries – What’s not to like about this dessert?  Ricotta, mascarpone, balsamic and strawberries make up one delicious combination.  So if winter has you down and you want to think summer, here’s the way to go.  http://www.simplyrecipes.com/recipes/ricotta_mascarpone_mousse_with_balsamic_strawberries/

Ricotta-Mascarpone Mousse with Balsamic Strawberries (alternate photo)

#9 Chicken Stuffed with Herby Mascarpone – One of the great things about doing this post was finding super cool ways of adding mascarpone to dinner recipes.  This stuffed chicken recipe is a real quick way to get dinner on the table. Recipe courtesy of Good Food, http://www.bbcgoodfood.com/recipes/4787/chicken-stuffed-with-herby-mascarpone

Chicken stuffed with herby mascarpone

#10 Pasta with prawns, mascarpone & lemon – Another Good Food selection, I really like the idea of pairing the mascarpone with pasta and seafood.  A cool midweek dinner idea and as the website suggest it’s best made with wholemeal pasta shapes.  Click here, http://www.bbcgoodfood.com/recipes/1841654/pasta-with-prawns-mascarpone-and-lemon

Pasta with prawns, mascarpone & lemon

So go ahead and give some of these recipes ideas a spin.  If you are like me I’m sure you will add some of your own personal touches to really improve the recipes and I hope we helped you discover a new food partner in mascarpone cheese.

photos by: & ,

Zeppole – Gracie’s Italian Doughnuts

My mom loved frying foods and Zeppole, or Italian Doughnuts as she called them, were always a big hit.  I remember she made them every January as the Christmas holiday season was winding down.  Her way of keeping everyone in a festive mood.

Quartino's (#586)

Now I’m not talking about the fried dough or Funnel Cakes you may be accustomed to seeing at Italian feast or carnivals.  I’m talking real good, home fried zeppole made with sugar, eggs and butter.  Mom would dress them up a bit sometimes adding a fresh fruit topping or hot chocolate syrup for dipping.  Yeah I’m still in the holiday baking mood and my New Year’s resolution to get back on a pure Mediterranean diet has yet to kick in.  That being said, enjoy Gracie’s Italian doughnuts!

There really is  no secret to this recipe and I bet if you did a search for zeppole, this formula or one very close to it would pop up.  The important thing when making these doughnuts is to make sure the oil stays between 360° and 375°.  If the oil slips below 350° the zeppoles will soak in too much oil and become greasy.  If you don’t have a hot oil cooking thermometer, do yourself a favor and invest in one.  No home chef should be without this tool.

purple ~ 5 thermapenIngredients: (printable version below)

  • 1 stick (8 Tablespoons) butter

  • 3 Tablespoons sugar

  • ¼ teaspoon salt

  • 1 cup flour

  • 4 eggs

  • oil, for frying

  • powdered sugar, to dust the zeppole

  • 1 cup water

Directions:

In a medium saucepan, combine the water, butter, sugar and salt. Cook until the butter melts.

Add the flour and mix vigorously until the dough comes together in a ball. Continue cooking for a minute or two.

Place the dough in the bowl and continue mixing until you don’t see any more steaming rising up from the bowl.  (I use a hand mixer or mix by hand.  If you have a standing mixer, use the paddle attachment).

Add the eggs one at a time and continue mixing as each egg is added.Pour at least 2 inches of oil into a large, heavy pan.  Heat up the oil to 375°.

Add small balls of dough directly into the hot oil.  I use a plastic tablespoon measuring device to get the right size for my zeppole.

Fry the zeppole for about five minutes, making certain that they are cooked evenly on all sides.

Use a slotted spoon and remove the zeppole to a paper towel lined baking sheet.  Dust with powered sugar, and control the gang from knocking down the door to get them.

Keeping the oil at 360 to 375 degrees is key in making zeppole.

Keeping the oil at 360 to 375 degrees is key in making zeppole.


Zeppole - Gracie's Italian Doughnuts
 
Author:
Recipe type: Dessert
Cuisine: Italian
 
Ingredients
  • 1 stick (8 Tablespoons) butter
  • 3 Tablespoons sugar
  • ¼ teaspoon salt
  • 1 cup flour
  • 4 eggs
  • oil, for frying
  • powdered sugar, to dust the zeppole
  • 1 cup water
Instructions
  1. In a medium saucepan, combine the water, butter, sugar and salt. Cook until the butter melts.
  2. Add the flour and mix vigorously until the dough comes together in a ball. Continue cooking for a minute or two.
  3. Place the dough in the bowl and continue mixing until you don’t see any more steaming rising up from the bowl. (I use a hand mixer or mix by hand. If you have a standing mixer, use the paddle attachment).
  4. Add the eggs one at a time and continue mixing as each egg is added.
  5. Pour at least 2 inches of oil into a large, heavy pot. Heat up the oil to 375°.
  6. Add small balls of dough directly into the hot oil. I use a plastic teaspoon measuring device to get the right size for my zeppole.
  7. Fry the zeppole for about five minutes, making certain that they are cooked evenly on all sides.
  8. Use a slotted spoon and remove the zeppole to a paper towel lined baking sheet. Dust with powered sugar, and control the gang from knocking down the door to get them.


photos by: & ,

Shortcut Mussels and Shrimp with Spicy Tomato and Garlic Sauce

When I’m preparing dinner during the week, I’m always looking for shortcuts, and this Mussels & Shrimp with Spicy Tomato/Garlic Sauce is a real winner.

The other day I’m standing in line at the super market and couldn’t help but notice an item in the basket of a women just ahead of me.  Frozen mussels already cleaned and removed from the shell.  All you needed to do was run them under some cold water and they’re ready to serve.

Frozen Mussels and Salad Shrimp are a great recipe shortcut.

Frozen Mussels and Salad Shrimp are a great recipe shortcut.

I like mussels for many reasons, they’re inexpensive, quick to cook and really tasty.  What I don’t like about them is the tedious job of cleaning them and then wasting money on shells that don’t open.  When I spotted these frozen mussels I immediately headed over to the frozen fish display and picked up a package.  While I was there I also added a package of frozen salad shrimp.

On the ride home I started thinking about how I was going to use these babies and knowing that I had some fresh linguini at home I came up with the following recipe.  I hope you enjoy it.

Mussels and Shrimp with Spicy Tomato and Garlic Sauce: (printable recipe below)

Ingredients:

  • 1/4 cup of olive oil

  • 1 large onion finely chopped

  • 6 large cloves of garlic, chopped

  • 1/4 cup chopped fresh Italian parsley

  • 1 28oz can of crushed tomatoes

  • 1/2 Tbsp. dried Italian seasonings

  • 1/2 Tbsp. red pepper flakes

  • 1 10 oz package of frozen mussels, thawed

  • 1 10 oz package of salad shrimp, thawed

  • salt and pepper to taste

  • 1 pound fresh linguini

  • 1/4 cup grated Parmesan

Directions:

In a large pot or skillet, heat oil over medium heat.  Add the onions and garlic and cook until transparent, about 5 minutes.  Add the parsley, crushed tomatoes, Italian seasonings and red pepper flakes.

Reduce the heat and simmer partially covered for 25 minutes, stirring occasionally.

After 25 minutes added the thawed mussels and shrimp and continue cooking for another 5 to 7 minutes.

IMG_0304

In the meantime bring three cups of salted water to a boil and add fresh linguini*.  Cook until al dente. Fresh pasta cooks quickly usually 3 to 5 minutes.

Drain pasta and return to pot and top with the Spicy sauce.  Mix well and add salt or pepper if needed.  Serve immediately, topped with grated Parmesan.

IMG_0306 (2)

* I am a big fan of fresh pasta and suggest that you become one as well.  It just taste better, cooks quicker and really is not all that expensive.  Our local supermarket has their own private label of fresh pastas, priced under $2.00 for a 9 ounce package.

Serve this dish with a nice California Pinot Noir or Chardonnay.

Shortcut Mussels and Shrimp with Spicy Tomato and Garlic Sauce
 
Author:
Recipe type: Main
Cuisine: Italian
 
Ingredients
  • ¼ cup of olive oil
  • 1 large onion finely chopped
  • 6 large cloves of garlic, chopped
  • ¼ cup chopped fresh Italian parsley
  • 1 28oz can of crushed tomatoes
  • ½ Tbsp. dried Italian seasonings
  • ½ Tbsp. red pepper flakes
  • 1 10 oz package of frozen mussels, thawed
  • 1 10 oz package of salad shrimp, thawed
  • salt and pepper to taste
  • 1 pound fresh linguini
  • ¼ cup grated Parmesan
Instructions
  1. In a large pot or skillet, heat oil over medium heat. Add the onions and garlic and cook until transparent, about 5 minutes. Add the parsley, crushed tomatoes, Italian seasonings and red pepper flakes.
  2. Reduce the heat and simmer partially covered for 25 minutes, stirring occasionally.
  3. After 25 minutes added the thawed mussels and shrimp and continue cooking for another 5 to 7 minutes.
  4. In the meantime bring three cups of salted water to a boil and add fresh linguini*. Cook until al dente. Fresh pasta cooks quickly usually 3 to 5 minutes.
  5. Drain pasta and return to pot and top with the Spicy sauce. Mix well and add salt or pepper if needed. Serve immediately, topped with grated Parmesan.


wine.com

Want A Low Cost Way to Espresso – Try A Bialetti Espresso Maker

You may think a low cost stove top espresso maker cannot produce good Espresso, but the Bialetti Moka Express does just that and is owned by nearly every family in Italy. 

IMG_0291

I was really happy to find a Bialetti under the tree this year as a gift from my oldest daughter.  Her and her husband are sort of coffee connoisseurs and often times will set up a mini Espresso Bar at family get togethers.  My older stove top machine just wasn’t up to the task anymore and it was indeed time for a new maker.

The Bialetti is really easy to use and makes a strong cup of espresso in about four minutes.  I tend to let my espresso brew slowly under low heat.  It may take 10 minutes but I feel it’s worth the wait.

The Bialetti has over 590 reviews on Amazon with a solid 4.5 star ranking.  There is just nothing about this machine  I don’t like.  Made of  aluminum, the stove top espresso maker produces 6 demitasse cups of rich, authentic Italian espresso and Amazon sells this NOW for $30.25 with free shipping available.

Espresso

About Bialetti – (from their website)

In Italy, where the kitchen is the heart of the home, where coffee is a passion and where the ritual bring friends and family together, Bialetti is found in nine of ten households. Why? Because like every true Italian, coffee is in our soul. And just as Alfonso Bialetti’s Moka Express revolutionized the art of coffee brewing, we’ve been crafting innovations that advance the art for nearly a century. Bialetti began in Italy, but has become a leading brand around the world because our high-quality products bring simplicity, functionality and beauty to the kitchen. Our advanced technology and distinctive styling combine to create solutions that are simple to use and beautifully designed. Today, the Bialetti family of products has grown. We bring a multitude of styles and colors to market. But our Italian heritage and passion live on in every line. When is comes to Italian coffee, the Moka Express is the premier stove top coffee maker.

Coffee Tips

Use coffee ground specifically for a moka coffee maker. Don’t use too fine ground coffee. Periodically check the funnel, the filter plate and the washer for wear. Over time, they may need to be replaced. Never use the pot without water. Never use other contents besides coffee like teas, cacao powder or instant coffee as it will clog the filter plate. If the heat is too high, coffee may have a burnt taste. Getting the optimum temperature for brewing may take some trial and error. Store coffee grounds in airtight container, away from sunlight. Use filtered water for best coffee flavor.

Before First Use

Remove all labels and packaging. Hand wash all parts with warm water. Rinse all parts thoroughly to remove any soap residue. Make 2-3 pots of coffee to season the pot. Follow “How to Use” instructions for each cycle

Care & Use

Cleaning Instructions: Wash by hand with warm water after each use. Dry thoroughly with towel. Do not reassemble the product until all parts are completely dry to avoid oxidation. Do not use soap or detergent. Do not use in dishwasher. Do not use steel wool or other abrasive products. Maintenance: Replace gaskets and funnels occasionally to keep your Moka Express in optimal working condition.

photo by: