Panettone – The classic Italian cake with a rich taste and natural goodness that everyone enjoys. Problem is, during the holidays, we sometimes receive more Panettone than we know what to do with. My solution is to make French Toast.
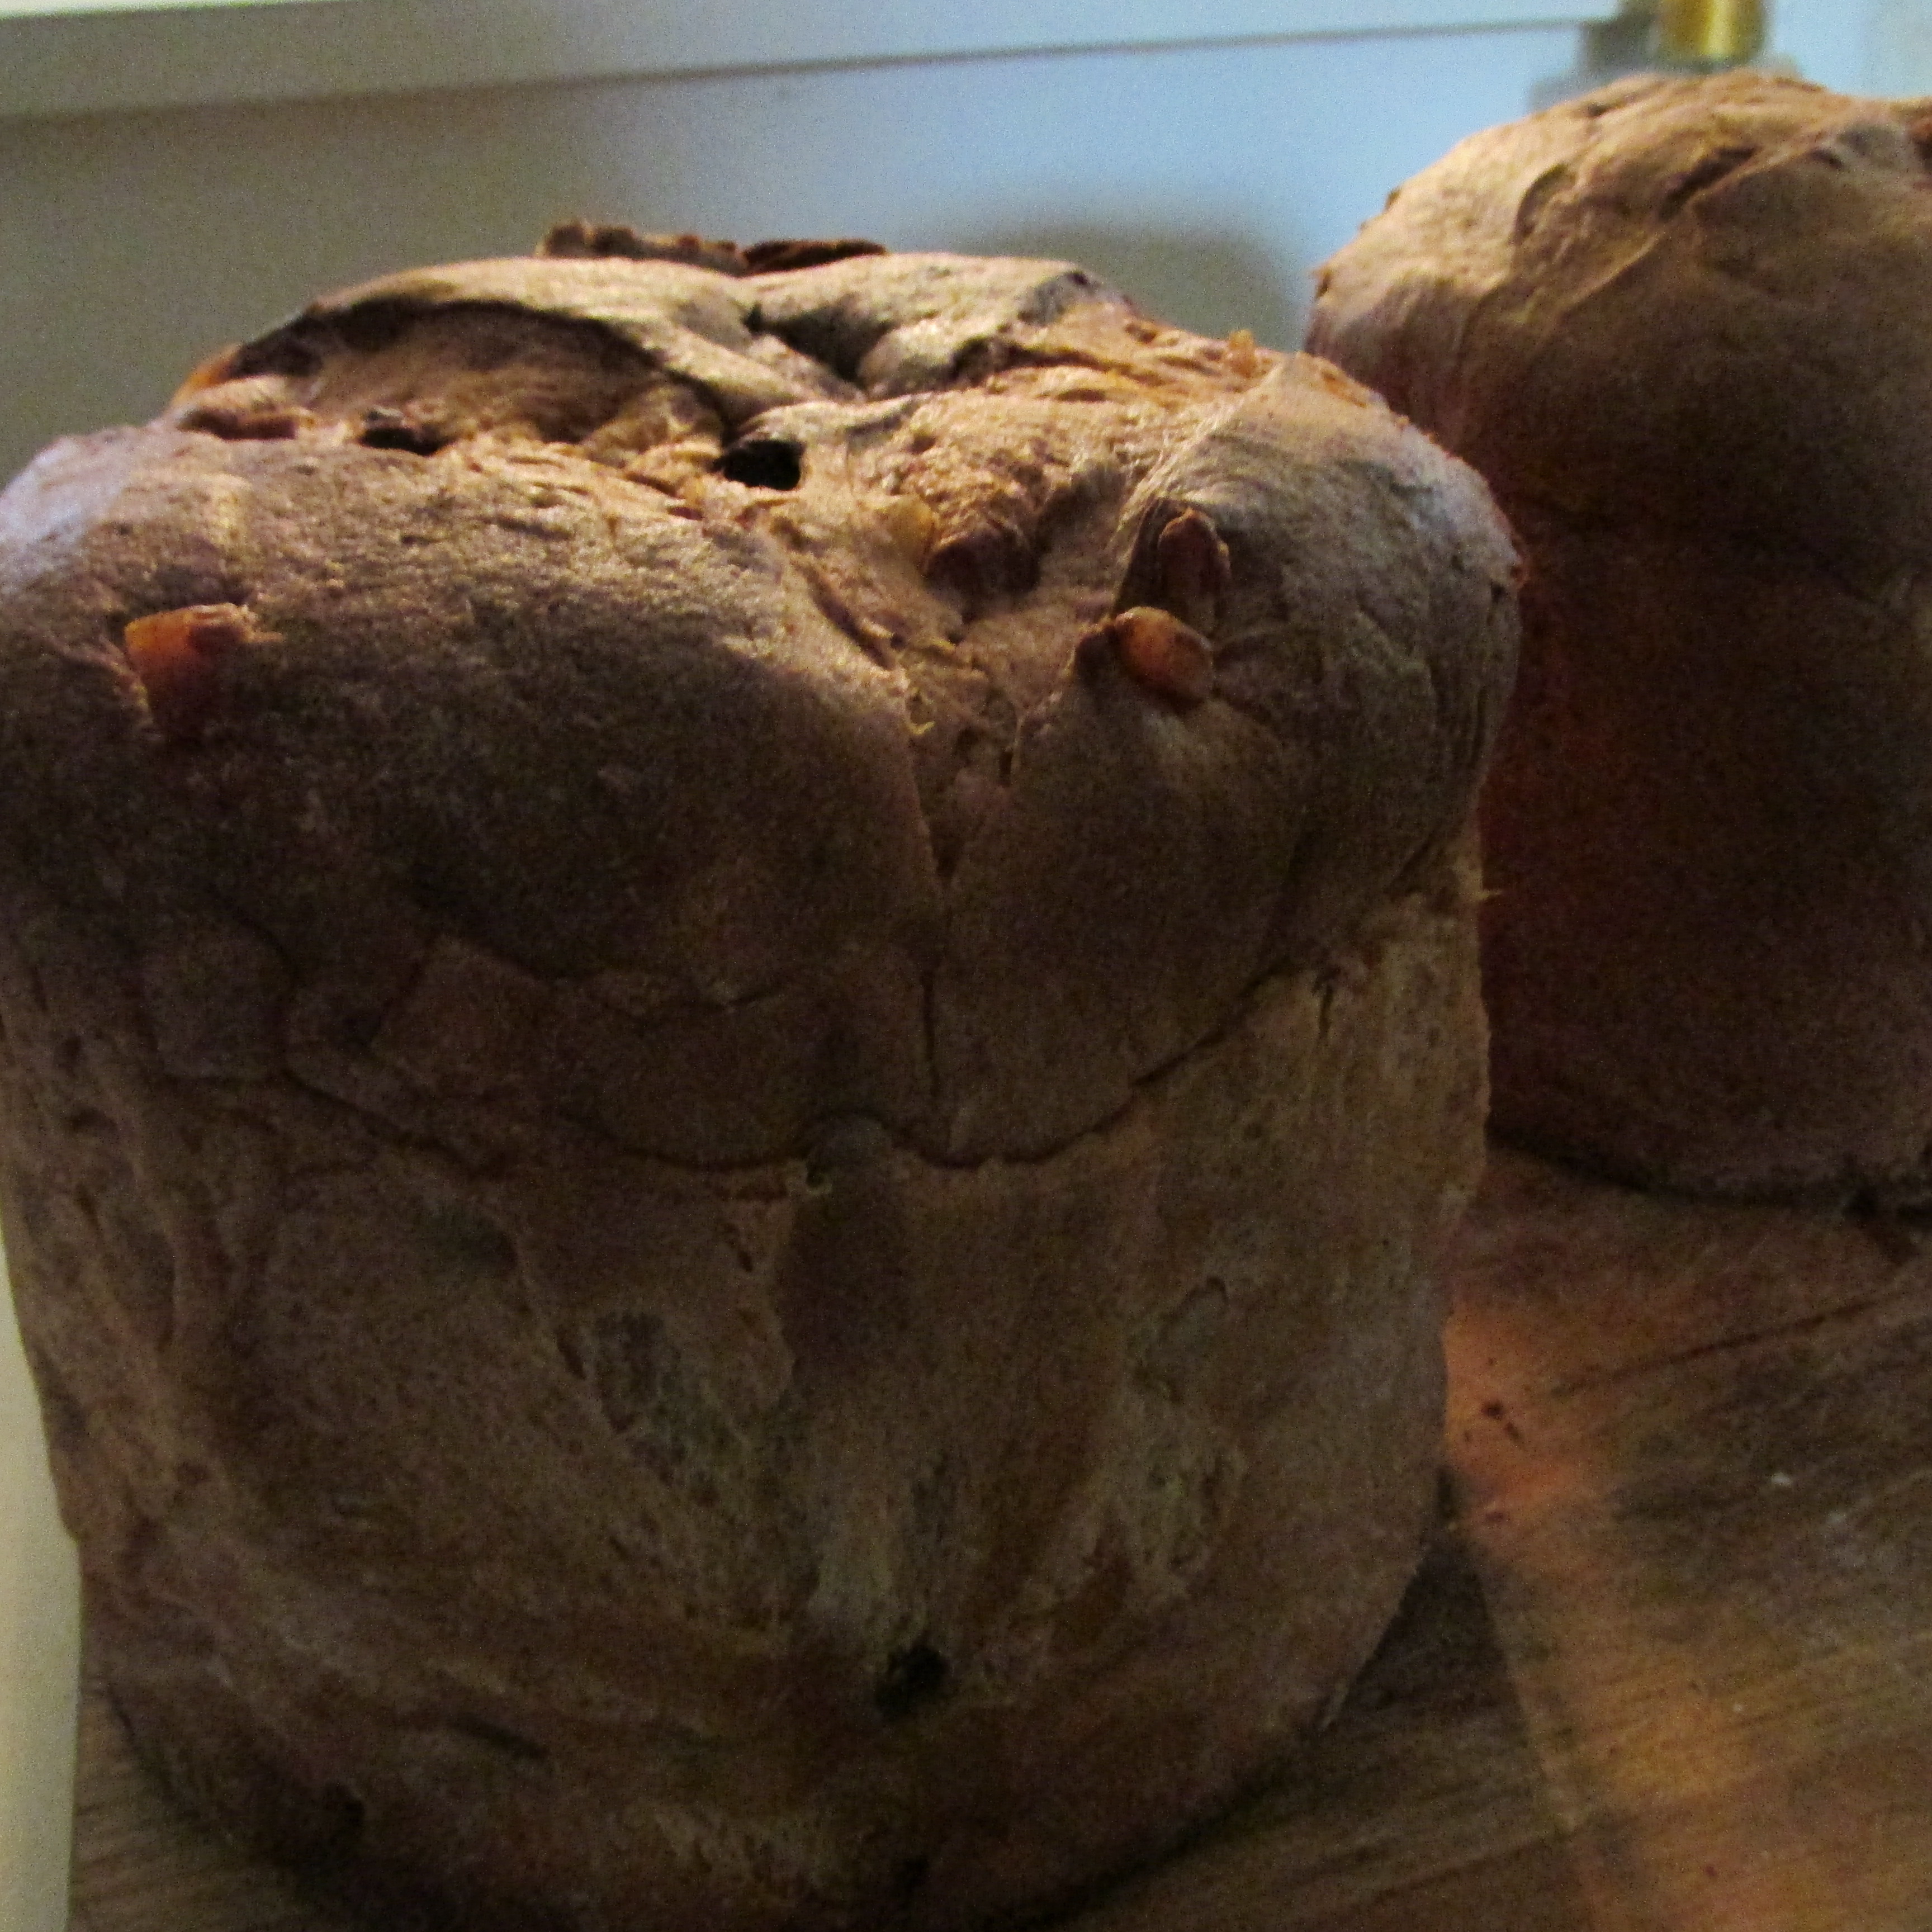
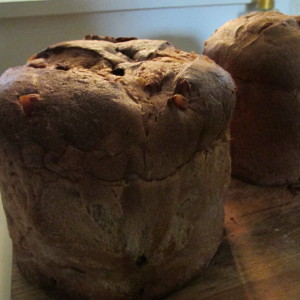
Two traditional panettone, perfect for French Toast.
I can remember many Christmas Holidays when it looked like we would never rid ourselves of the boxes of Panettone that arrived as gifts. My grandmother was the first person I know to turn that rich taste into French Toast. She would invite the family over on a Saturday morning and before you knew it the panettone were gone.
The original recipe for Panettone is characterized by a fragrant and scented dough, which naturally lends itself to French Toast. The cake, rich in butter, eggs, raisins and candied fruits is raised in a special paper form until it reaches the traditional rounded shape of the panettone.
This year, to my delight, I received two of these often overlooked Italian cakes and whipped up a batch of French Toast the Saturday after New Years. My son had some friends spend the night and as you would expect from teenage boys there wasn’t a crumb left.
I use a recipe borrowed from Giada DeLauentiis of the Food Network, that if you are watching calories should only be used on your cheat day. Below is Giada’s Panettone French Toast. Add a little warn syrup for the ideal finishing touch.

Panettone quartered slices ready to be batter dipped.
Ingredients: (printable copy below)
French Toast:
-
1 loaf panettone bread, baking paper removed
-
5 to 6 eggs
-
3/4 cup whipping cream
-
3/4 cup whole milk
-
1/4 cup sugar
-
2 Tbsp unsalted butter
-
1/2 cup mascarpone cheese
-
Powdered sugar for dusting
Preheat the oven to 200° or to a warm setting. Trim the bottom crust of the panettone and starting at the bottom cut it crosswise into 6 3/4 inch thick round slices. I oftentimes cut the panettone into 4 wedges to make smaller pieces (pictured above).
In a large bowl, whisk the eggs until well blended. Add the cream, milk and sugar and whisk until well mixed.
Melt butter onto your cooking surface, I use and electric grill, and raise the heat to medium.
Dip slices into the egg custard, turning to allow both sides to absorb the custard. Grill the soaked panettone until they are golden brown and firm. About 4 minutes each side.
Transfer to a baking sheet and keep them warm in the oven as you grill the remaining panettone slices.
Transfer to plates and top with a dollop of mascarpone cheese. Drizzle with warn syrup and add a touch of powdered sugar. Serve immediately.
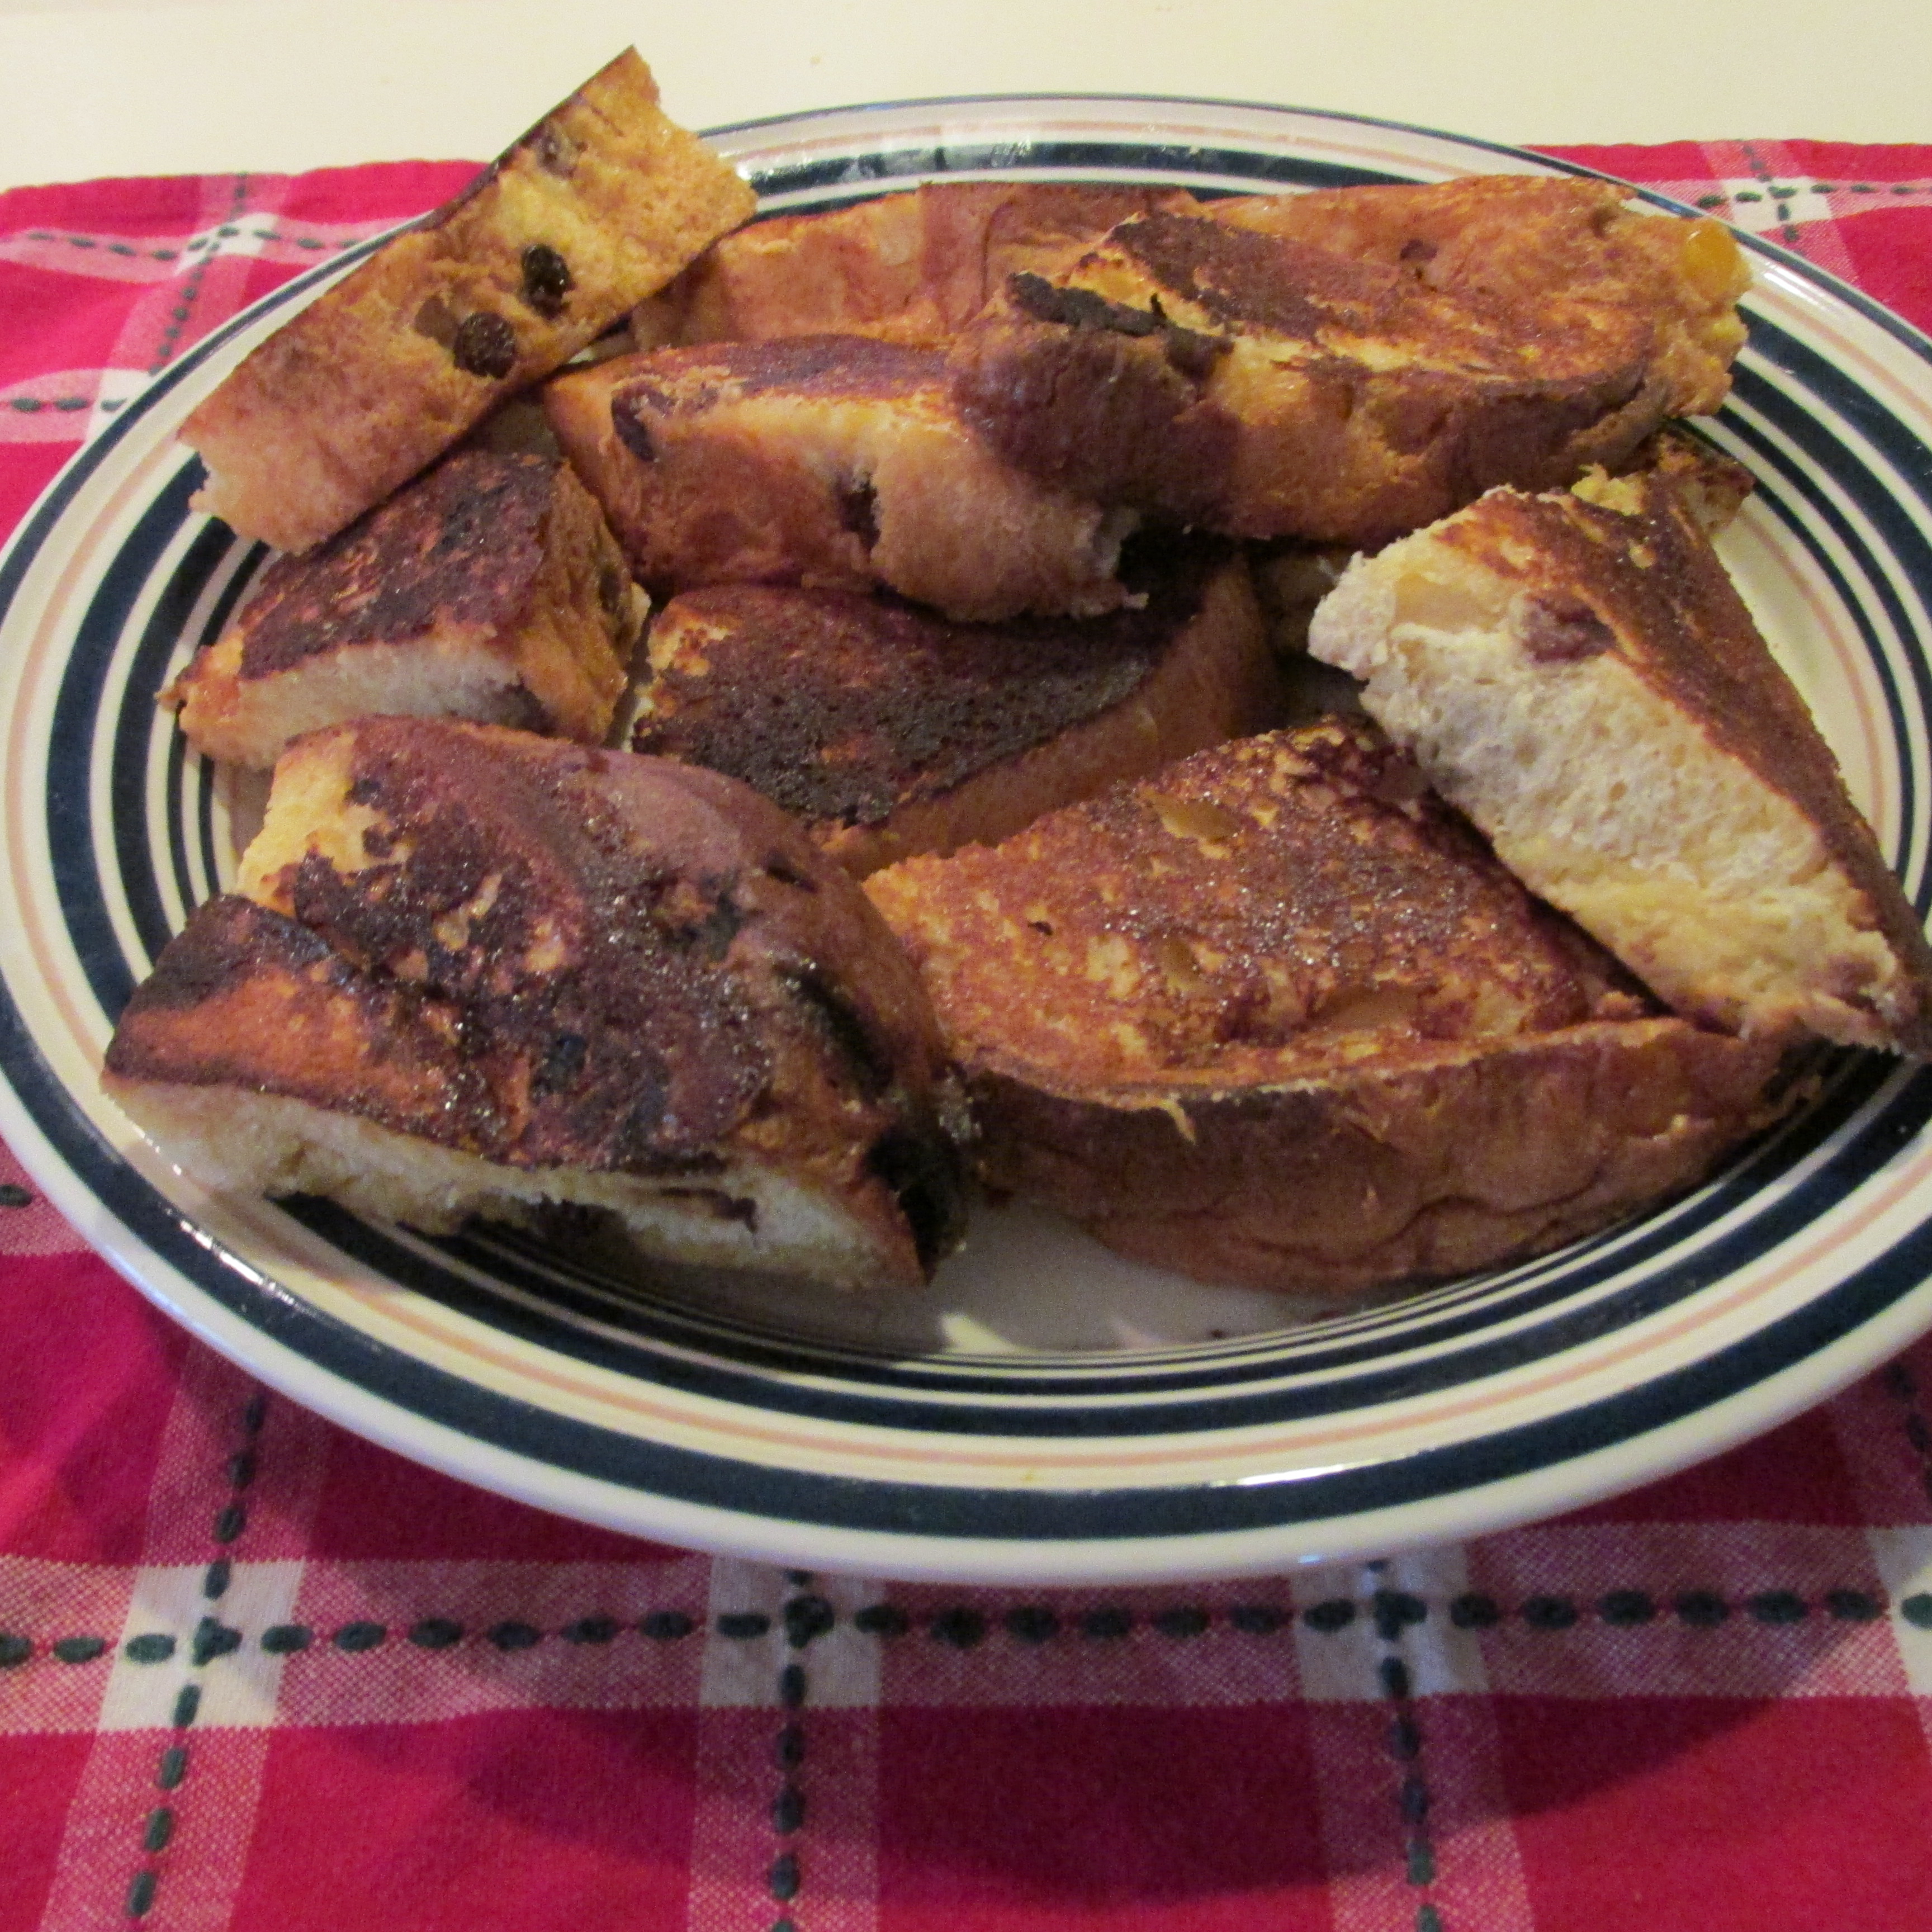
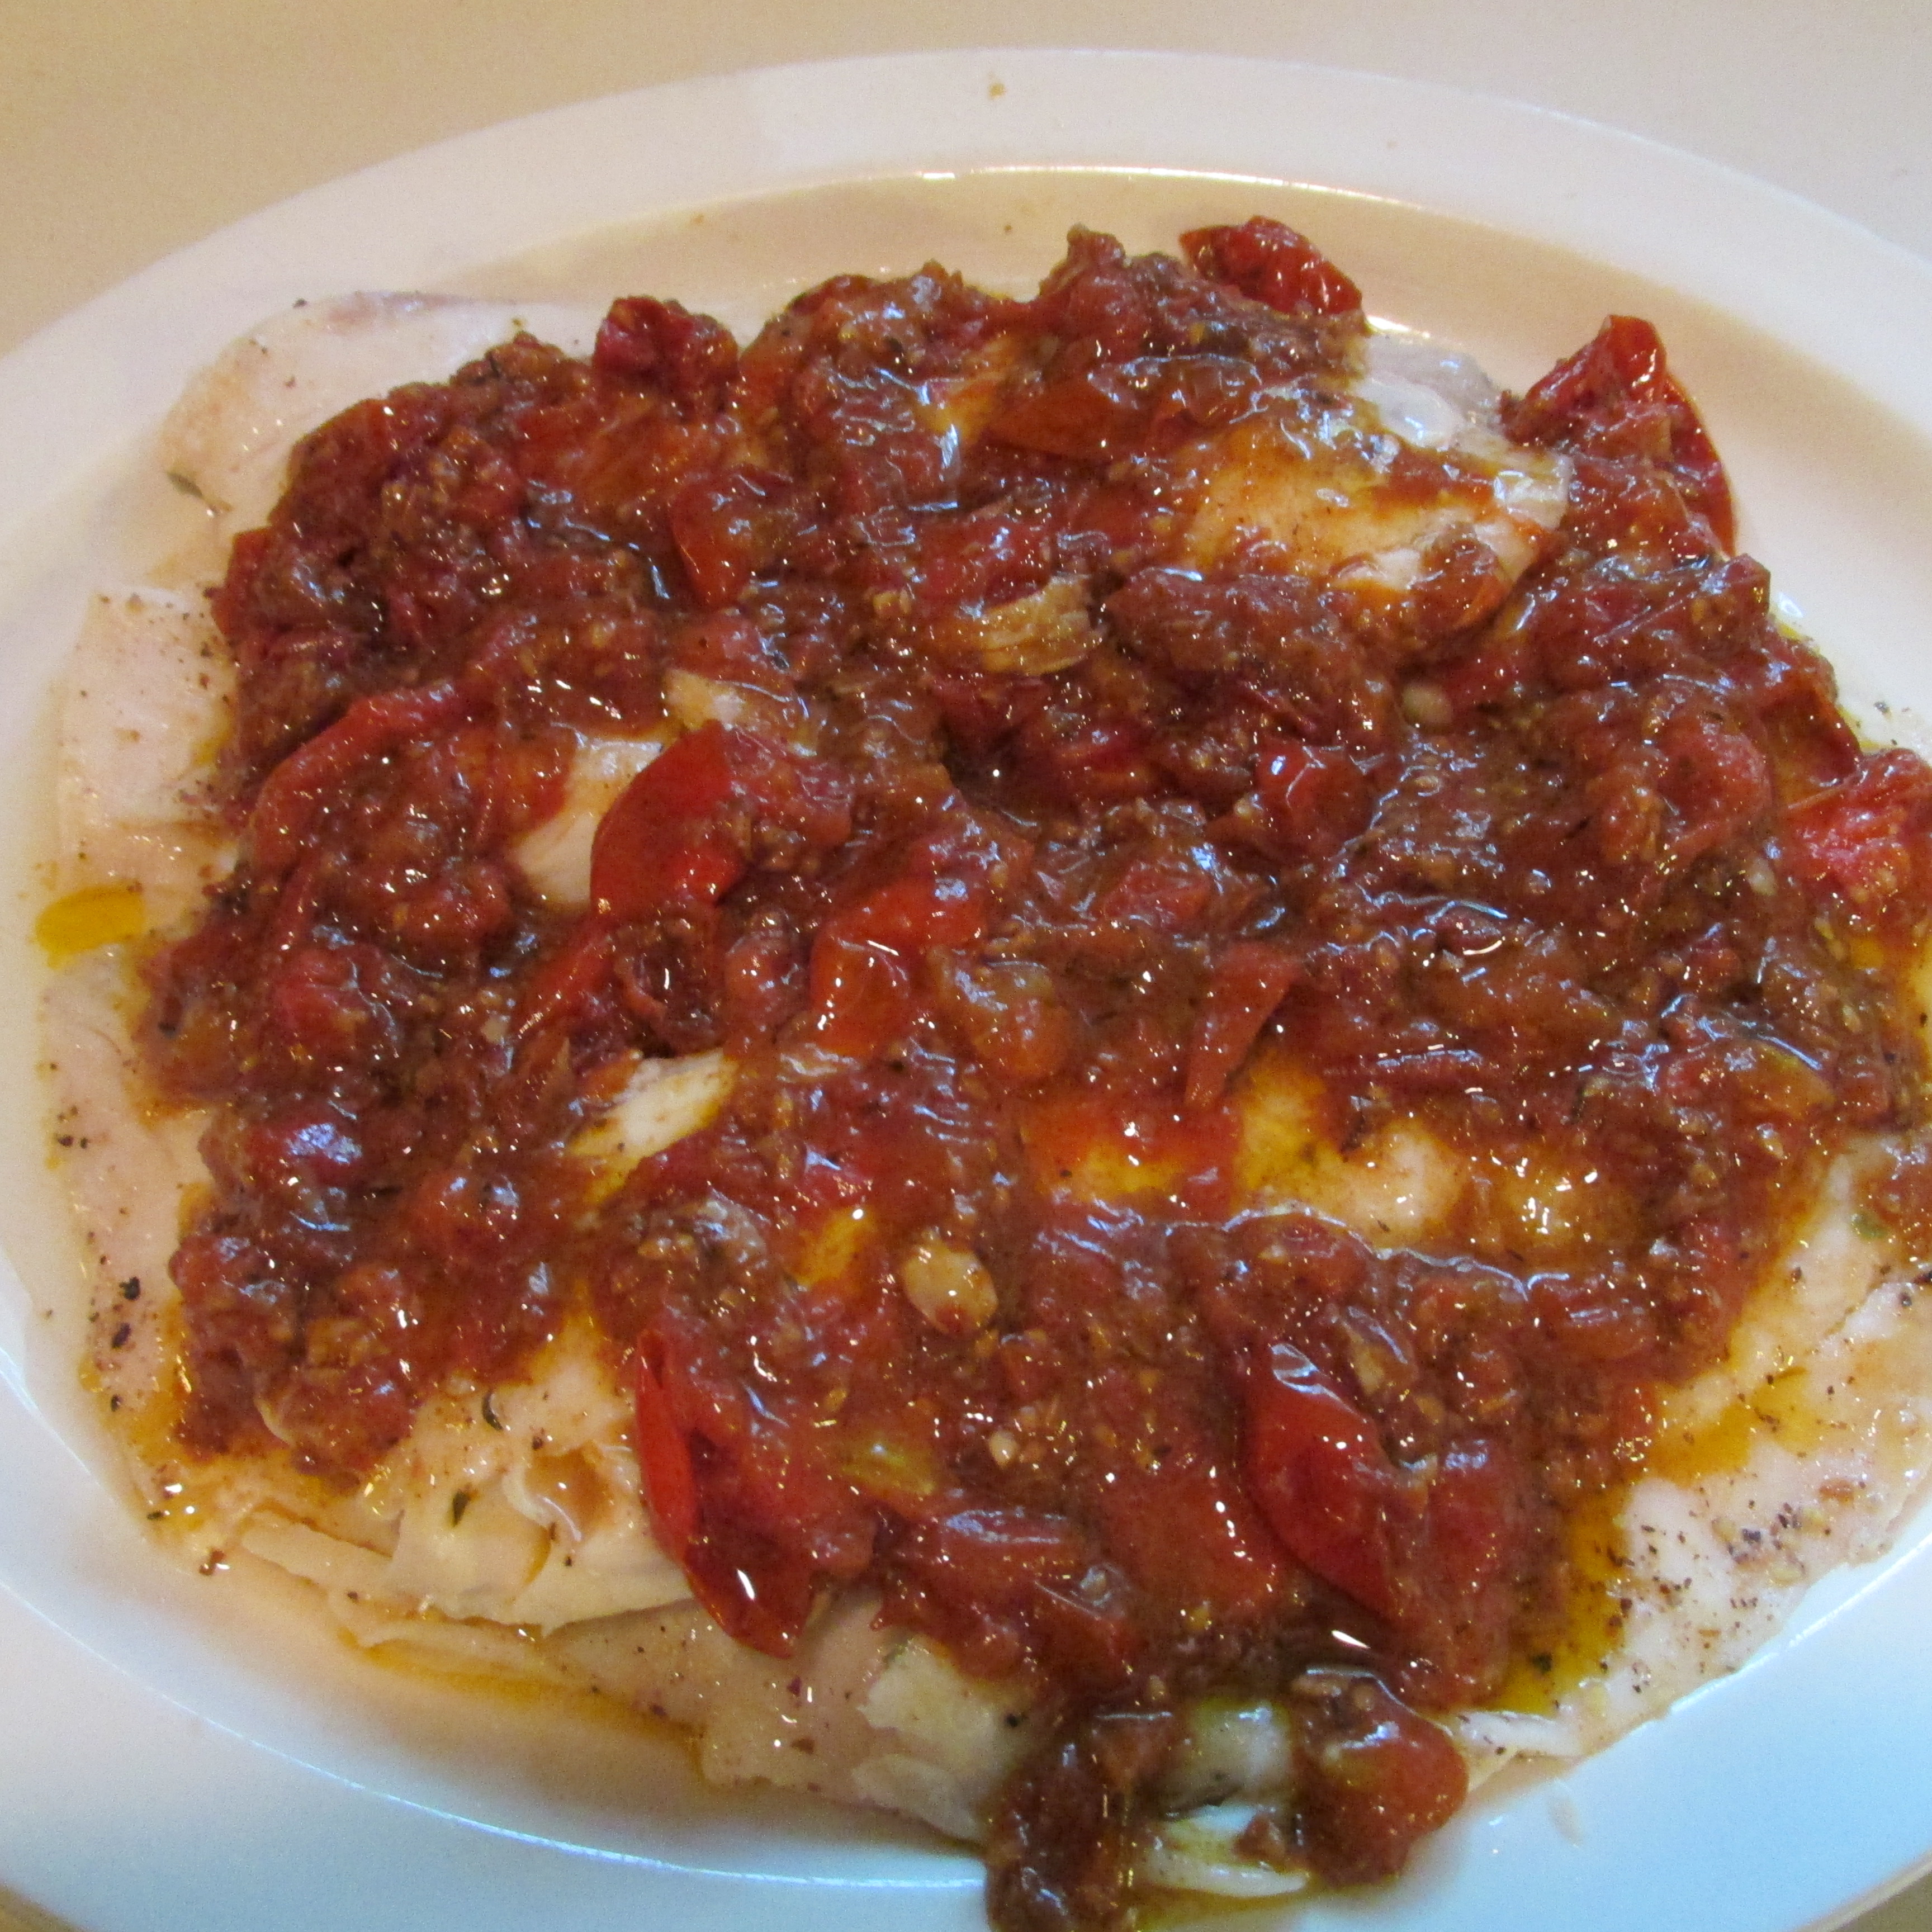
Finished product
The boys were putting these down so fast I hardly had time to take a picture. The two panetone, cut as shown above, easily fed five hungry teenage boys as well as four adults.
Printable Recipe:
Panettone French Toast
Ingredients
- 1 loaf panettone bread, baking paper removed
- 5 to 6 eggs
- ¾ cup whipping cream
- ¾ cup whole milk
- ¼ cup sugar
- 2 Tbsp unsalted butter
- ½ cup mascarpone cheese
- Powdered sugar for dusting
Instructions
- Preheat the oven to 200° or to a warm setting. Trim the bottom crust of the panettone and starting at the bottom cut it crosswise into 6¾ inch thick round slices. I oftentimes cut the panettone into 4 wedges to make smaller pieces.
- In a large bowl, whisk the eggs until well blended. Add the cream, milk and sugar and whisk until well mixed.
- Melt butter into your cooking surface, I use and electric grill, and raise heat to medium.
- Dip slices into the egg custard, turning to allow both sides to absorb the custard. Grill the soaked panettone until they are gulden brown and firm. About 4 minutes each side.
- Transfer to a baking sheet and keep them warm in the oven as you grill the remaining panettone slices.
- Transfer to plates and top with a dollop of mascarpone cheese. Drizzle with warn syrup and add a touch of powdered sugar. Serve immediately.
Related articles


 So about 10 years ago I turned into a wine snob. I can remember the exact wine that did it to me, a 1997 Amarone produced by Allegrini. The rich texture, and hints of chocolate and coffee combined with an earthiness that totally blew me away.


![Thanksgiving Turkey [327/366]](https://graciesravioli.com/wp-content/uploads/2014/11/thanksgiving_turkey_327366.jpg)